


Lokale Wetterstation
Komponenten und Verbrauchsmaterialien
 |
| × | 1 | |||
 |
| × | 1 | |||
 |
| × | 1 | |||
 |
| × | 1 | |||
| × | 1 | ||||
| × | 1 |
Notwendige Werkzeuge und Maschinen
 |
| |||
 |
| |||
 |
|
Apps und Onlinedienste
 |
| |||
 |
|
Über dieses Projekt
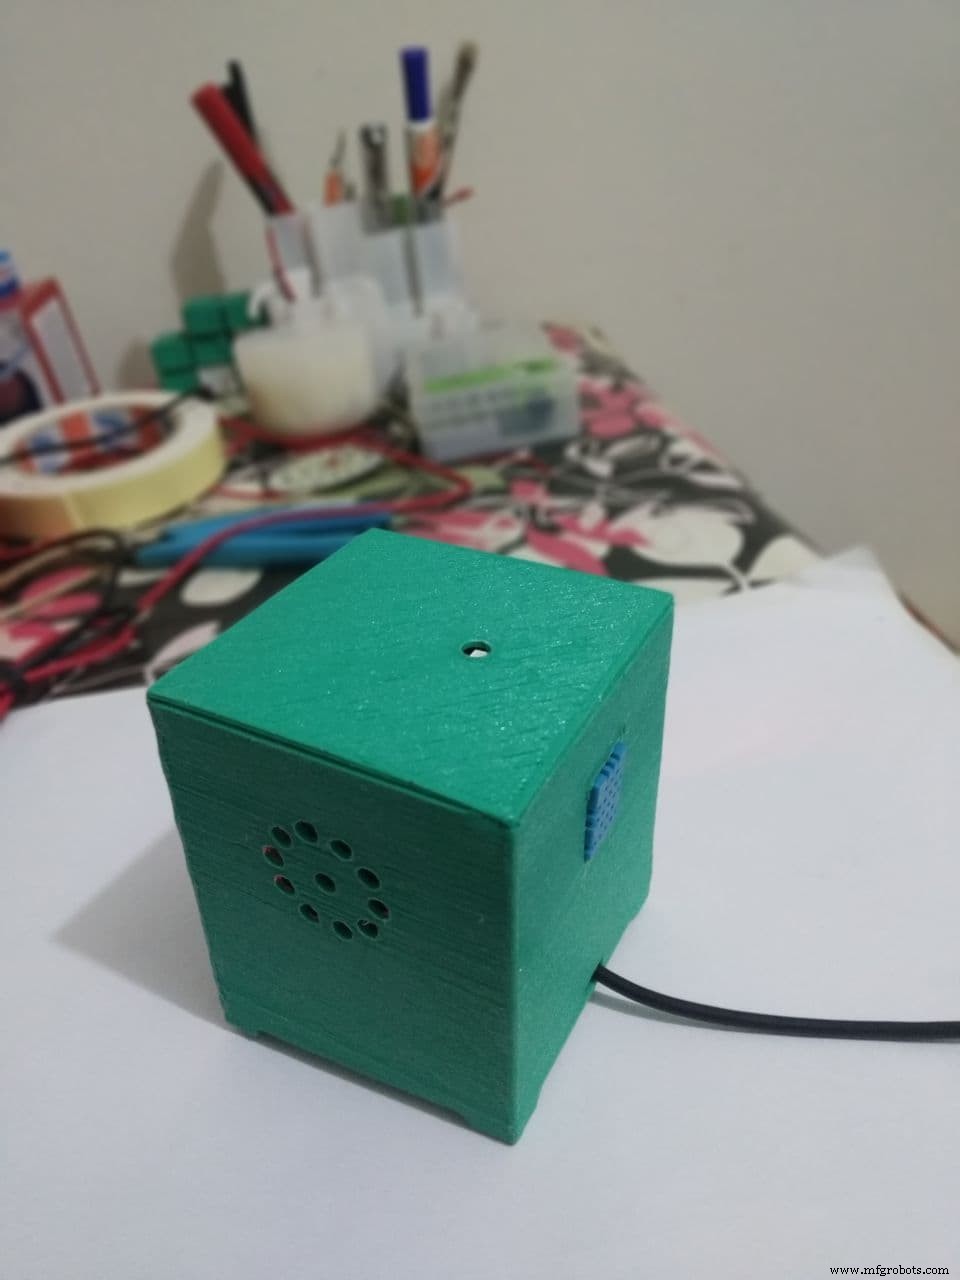
Ich wollte schon lange eine Wetterstation bauen, ohne das Internet zu benutzen. Es ist großartig, die Wetterdaten in Ihrer Umgebung zu messen und sich die Daten bei Bedarf anzusehen. Also baue ich eine cool aussehende lokale Wetterstation, die Ihren Umgebungsluftdruck, Temperatur, Luftfeuchtigkeit und den UV-Index des Tages messen kann (wenn Sie sie in der Nähe des Fensters platzieren). Warten Sie, es hat mehr! 😉 Es hat auch einen Uhrbildschirm zum Anzeigen von Uhrzeit, Datum und Wochentag.


In diesem Tutorial zeige ich Ihnen, wie Sie diese Kühlwetterstation in diesen Schritten erstellen.
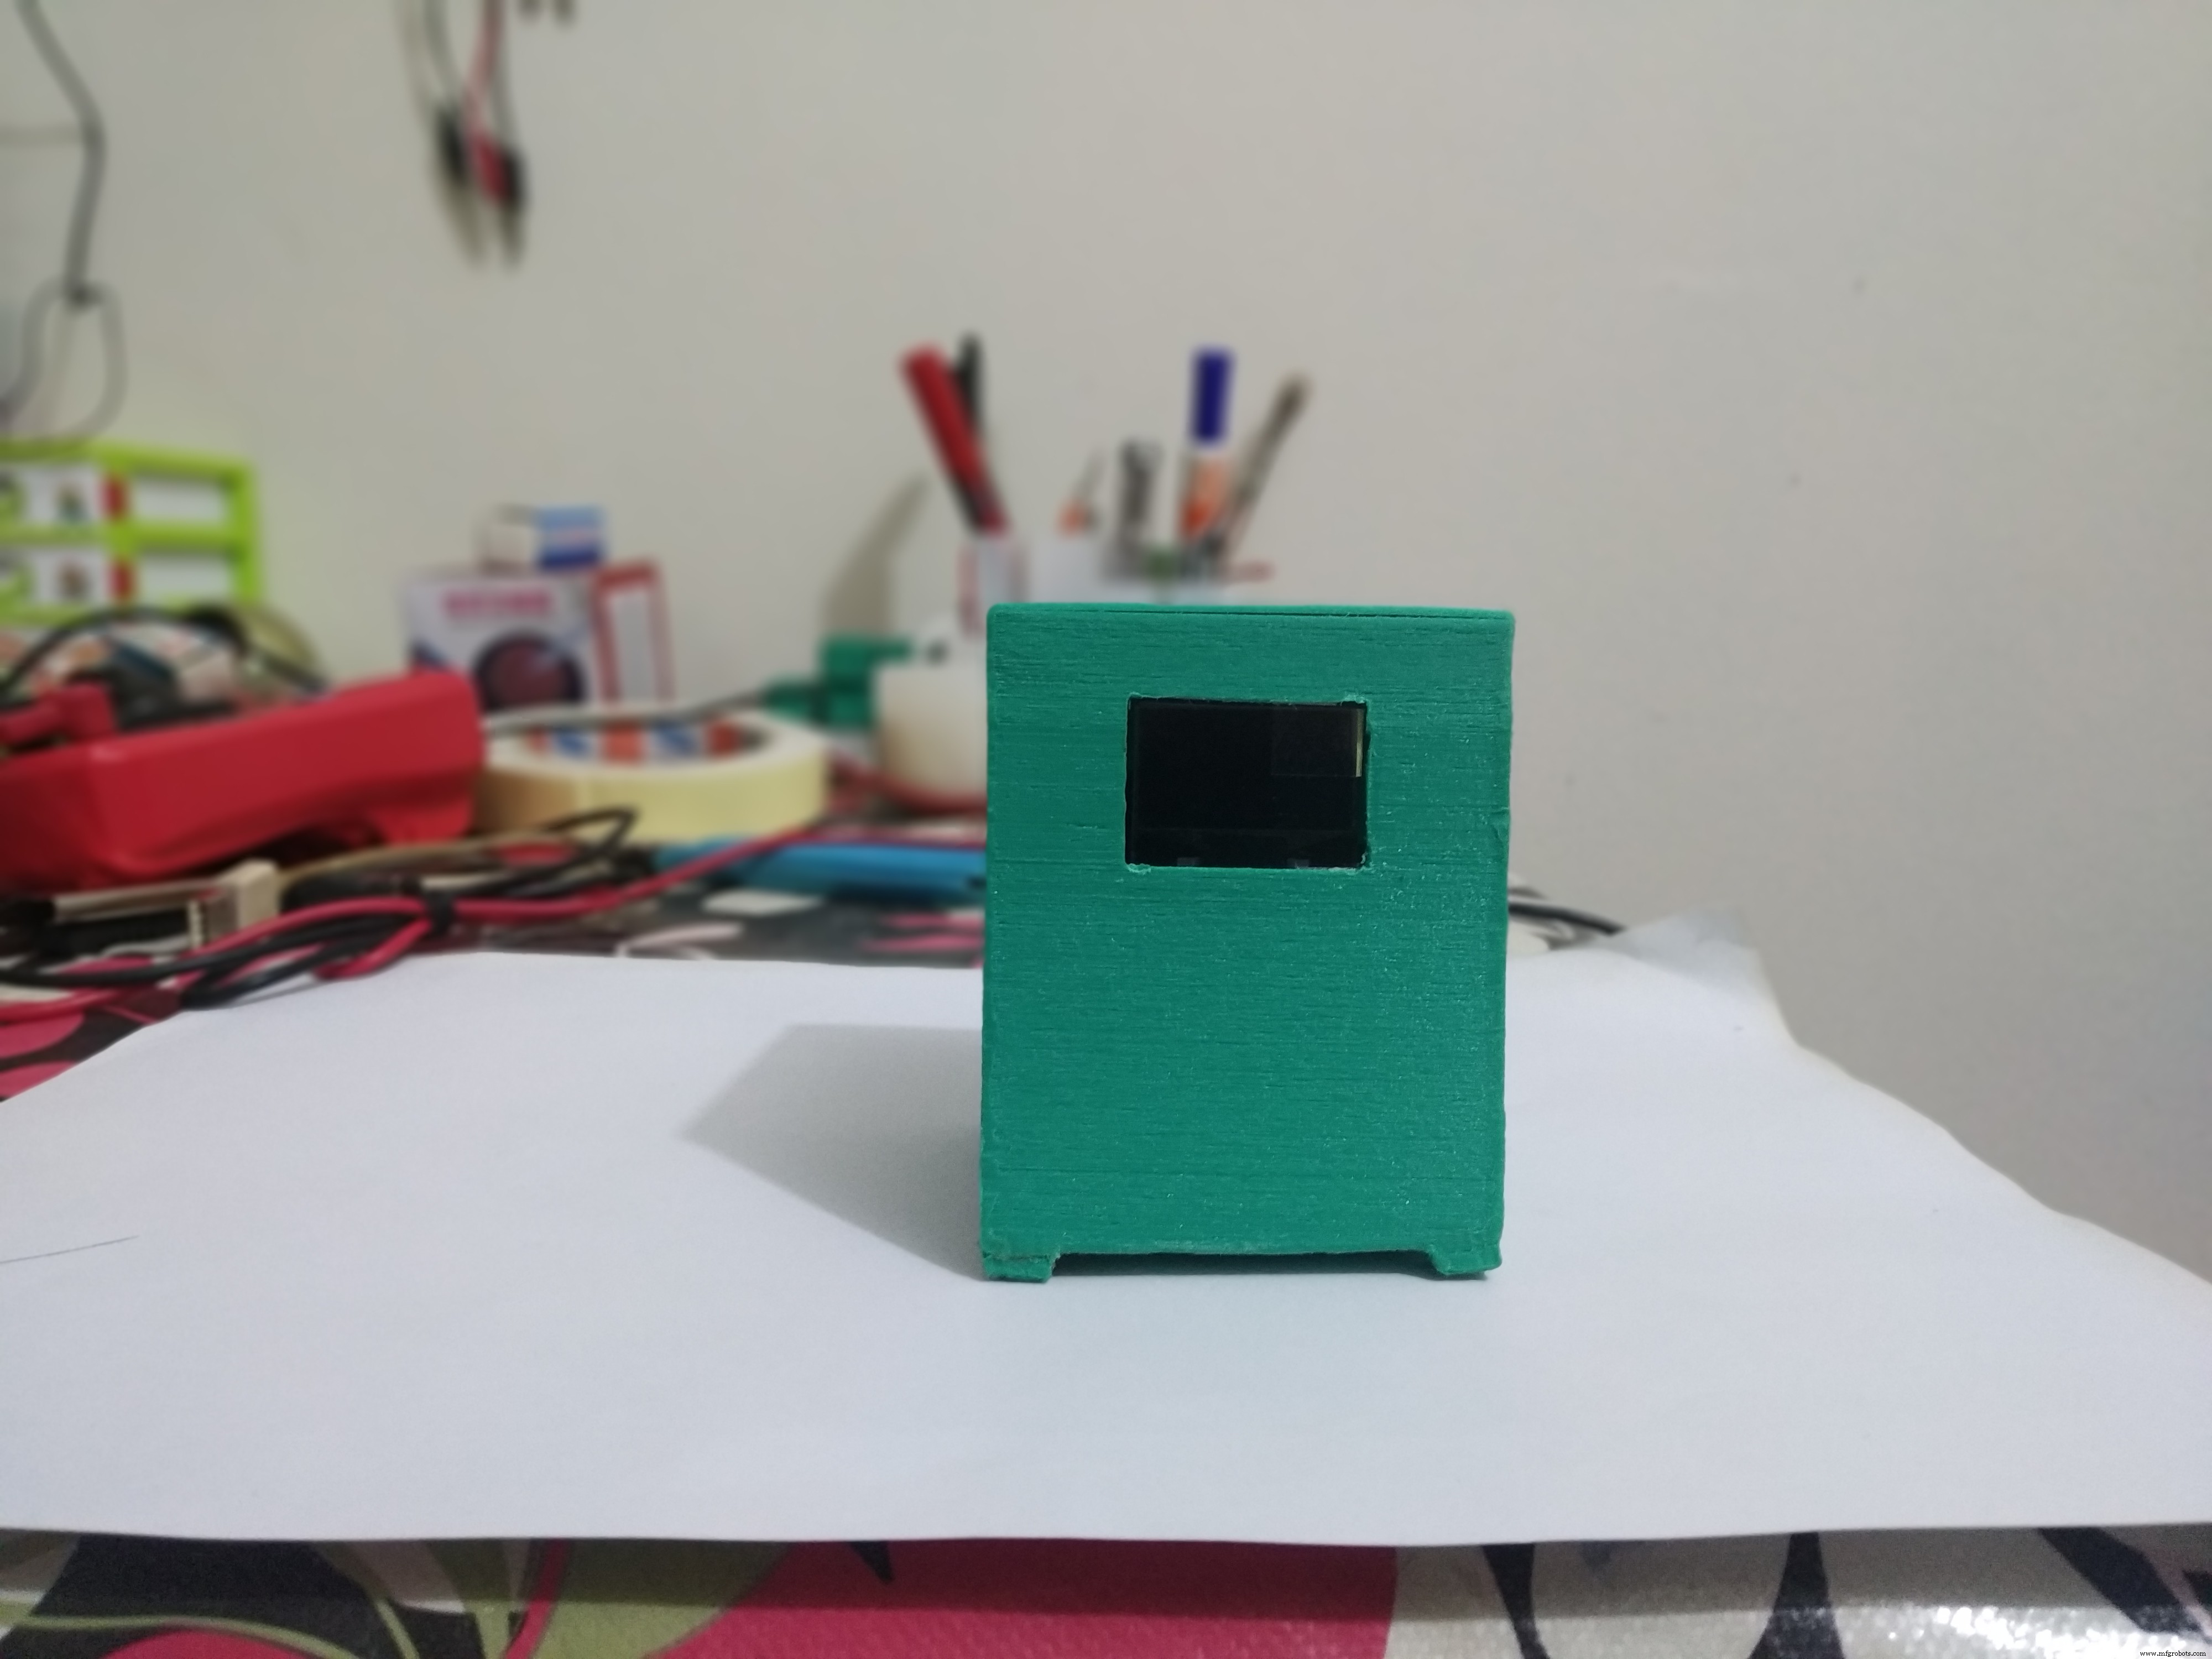
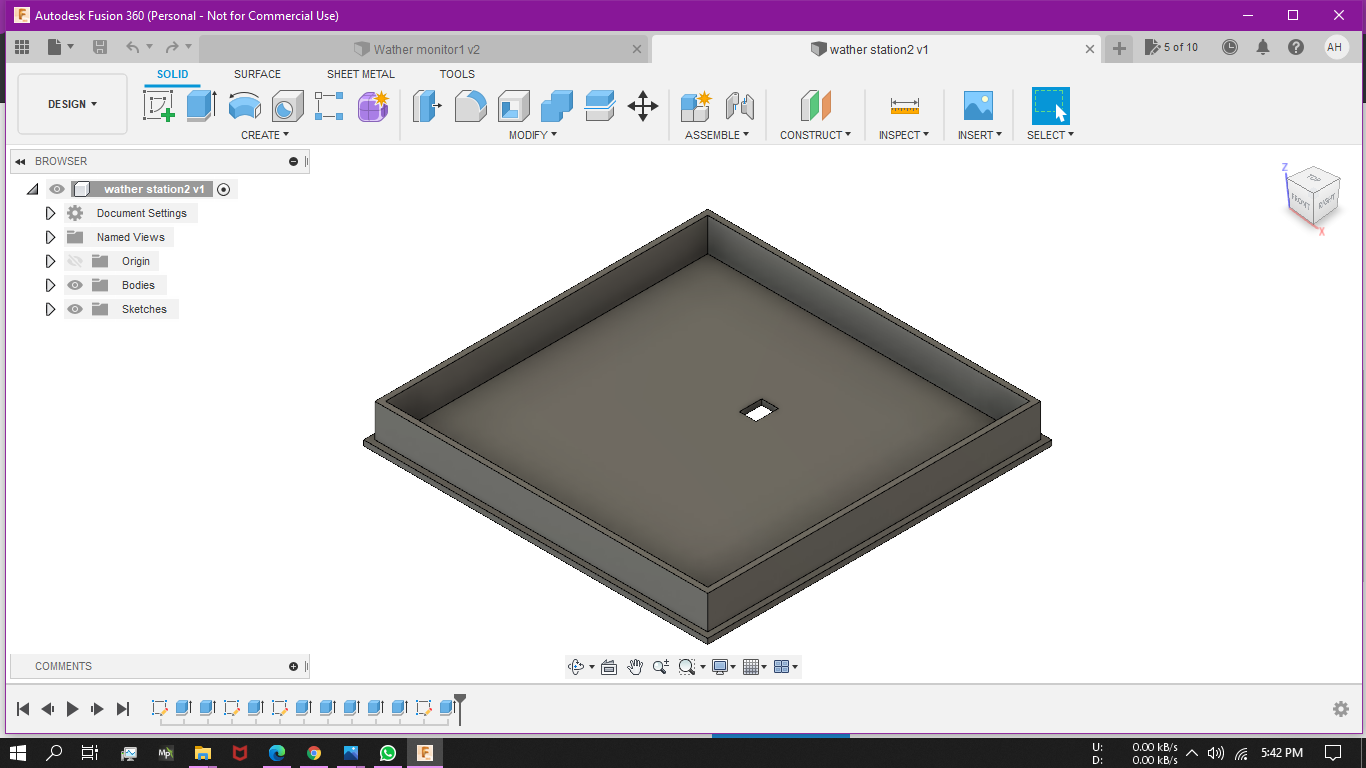
Schritt 1:Bauen des Gehäuses
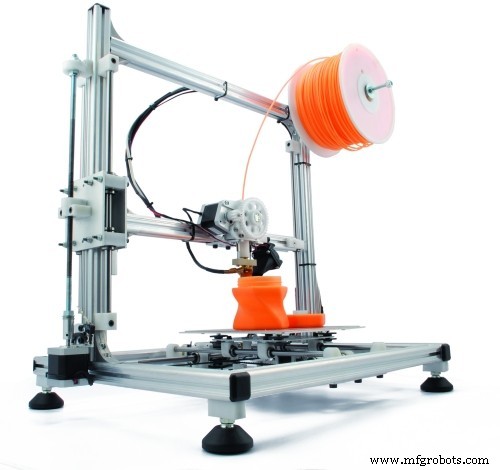
Ich verwende Autodesk Fusion 360 um das Gehäuse zu erstellen und mit grünem PLA zu drucken. Es braucht Stützen und ich drucke es mit 20% Infill mit 70mm/s Geschwindigkeit auf meinem Ender 3. Die STL-Datei für das Gehäuse finden Sie bei diesem Projekt.

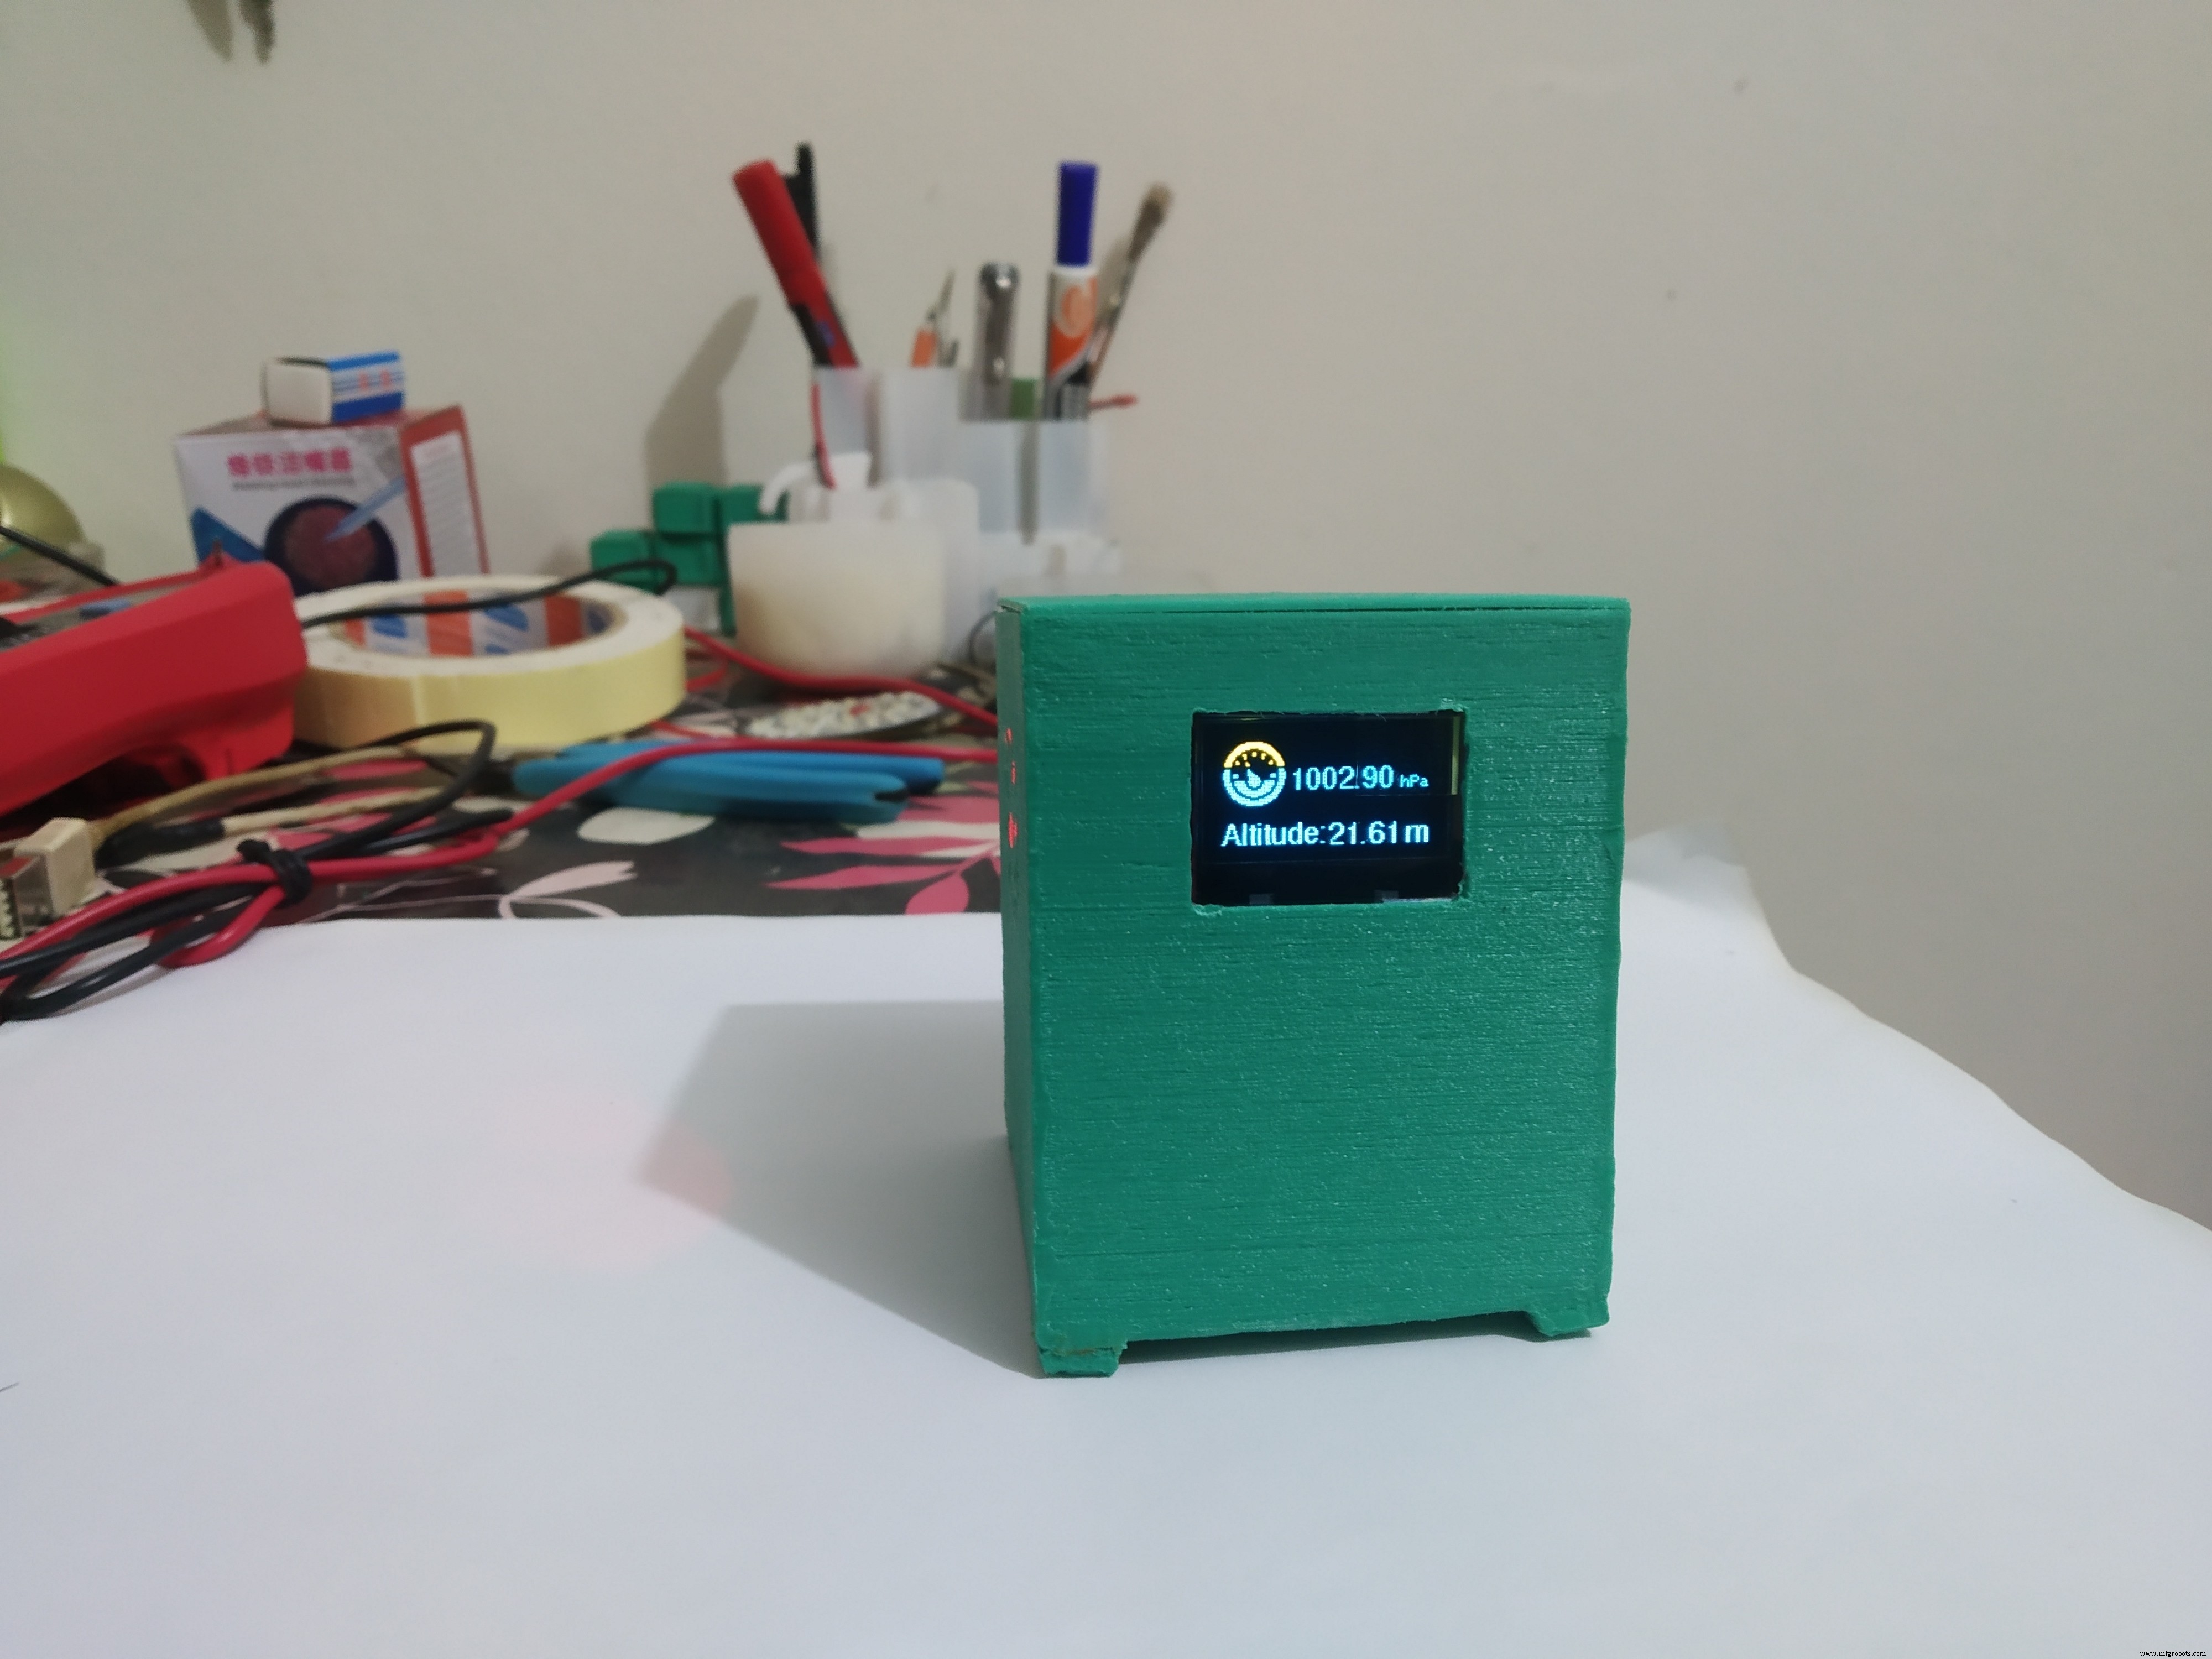
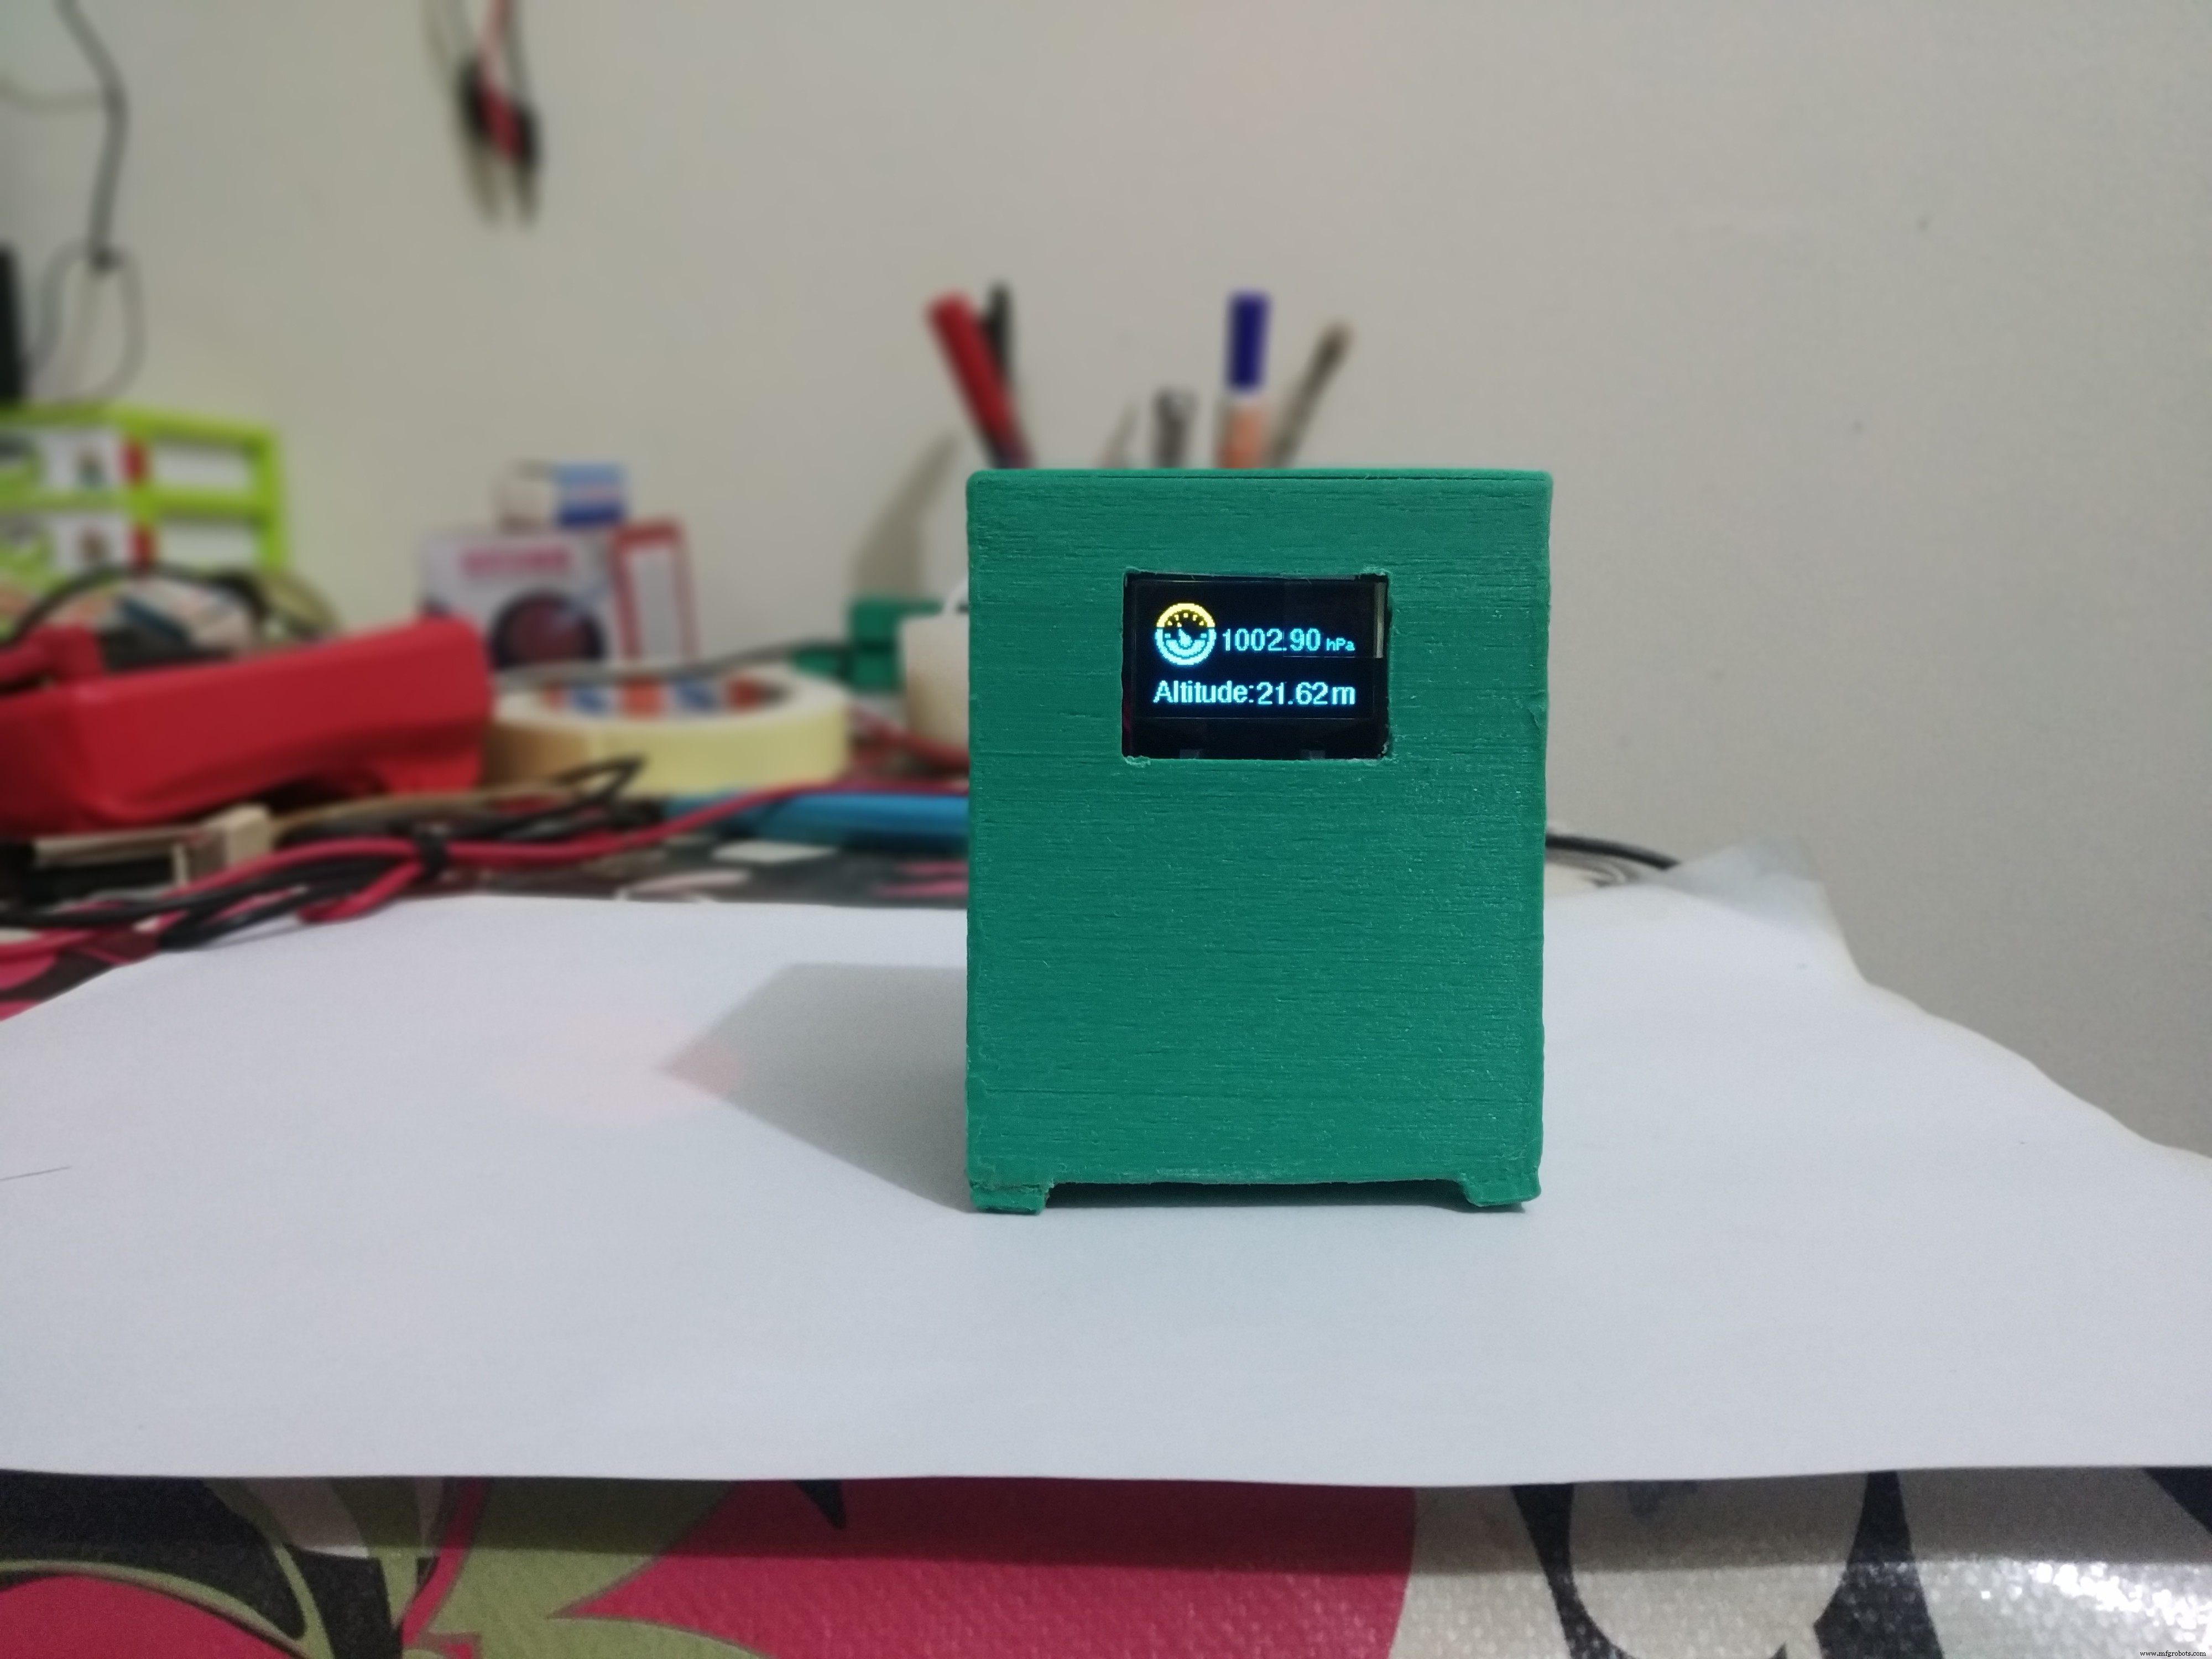
Schritt 2:BMP280
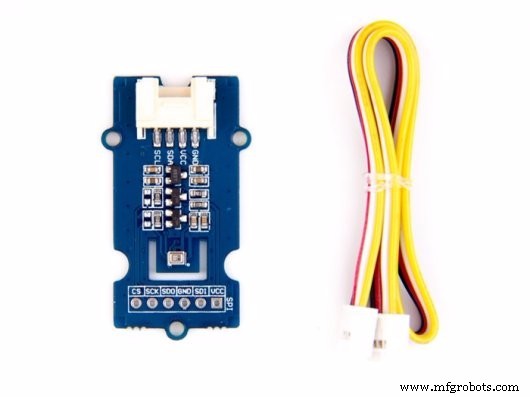
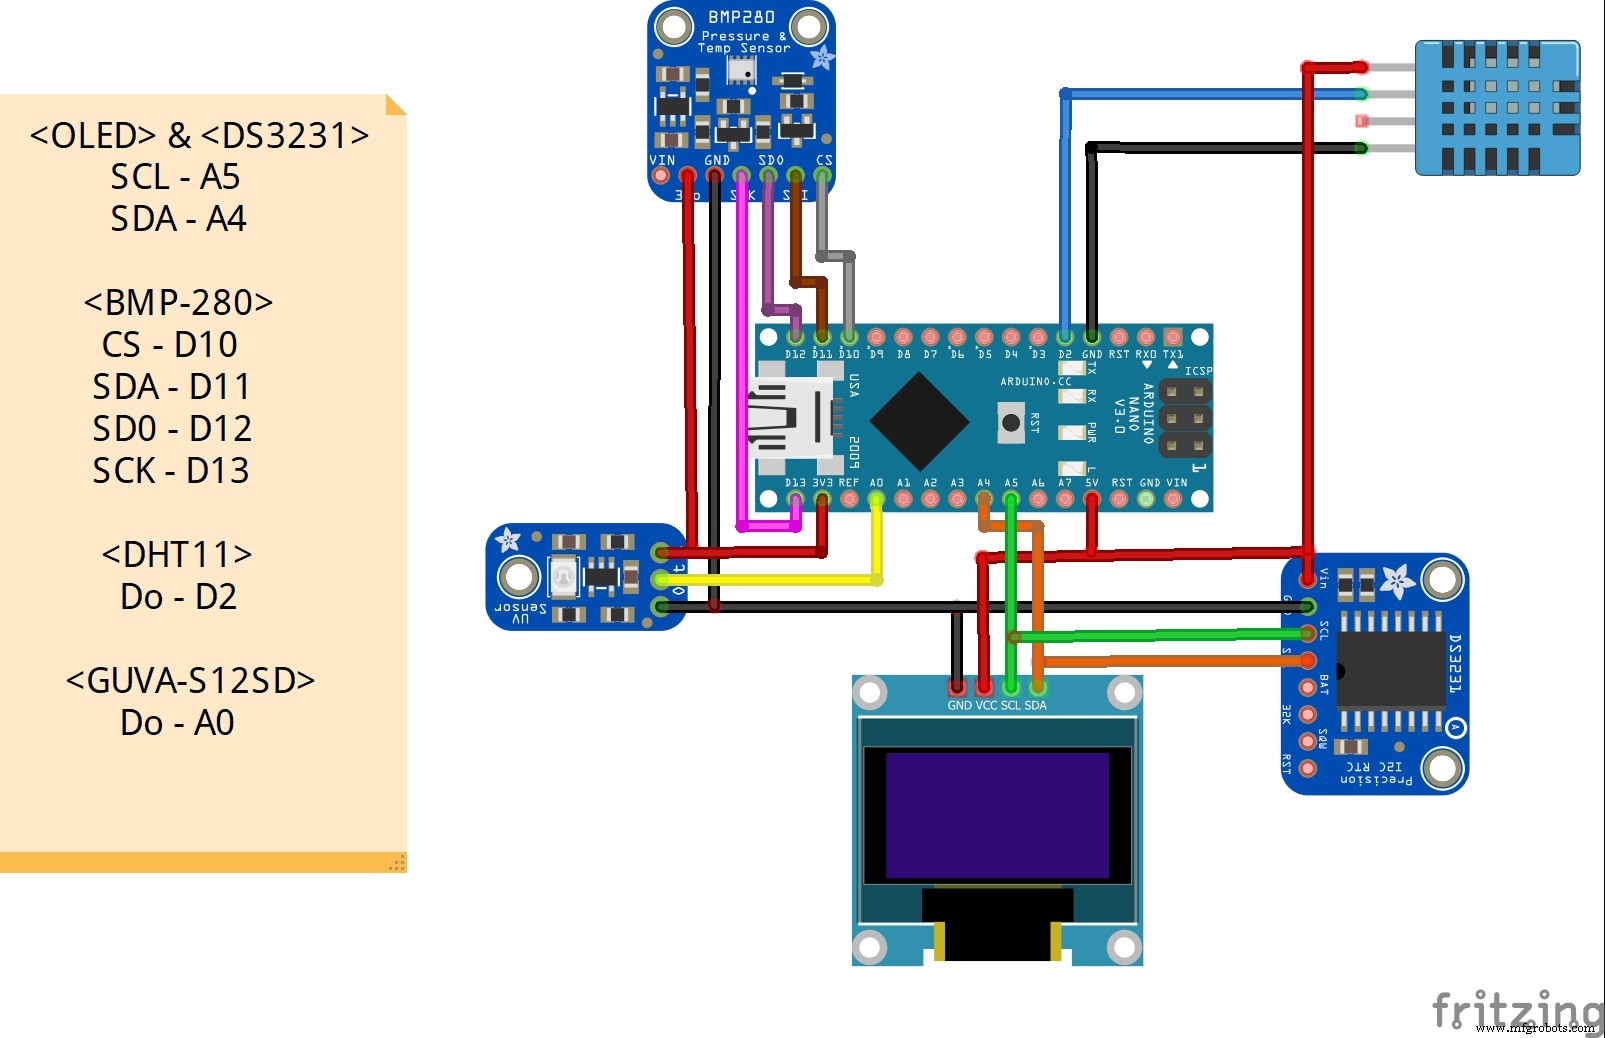
BMP280 ist ein atmosphärischer Druck- und Temperatursensor und verwendet das I2C- oder SPI-Protokoll, um mit dem Arduino zu kommunizieren. Hier verwende ich SPI. Um SPI zu verwenden, verbinden Sie sich mit-
- CS bis D10
- SDA zu D11
- SDO an D12
- SCK zu D13
Im Codeteil benötigen wir zur Verwendung dieses Sensors eine Bibliothek. Als erstes binde ich die Bibliothek in den Code ein #include . Sie können die Bibliothek hier herunterladen.
Dann definiere ich den SPI-Pin für den Sensor. In der Setup-Funktion initialisiere ich den BMP-Sensor und in der Loop-Funktion lese ich die Druck- und Temperaturdaten mit bmp.readPressure() und bmp.readTemperature() Befehl. Ich dividiere den Druckwert durch 100, um den Druck in der Einheit hPa zu messen. Um die Höhe zu messen verwende ich bmp.readAltitude(1005.47) Befehl. Hier müssen Sie den Wert (1005.47) ändern entsprechend dem durchschnittlichen Druck Ihrer Region.
Schritt 3:DS3231 RTC
Diese Wetterstation verfügt auch über einen Zeitbildschirm, der die aktuelle Uhrzeit, das Datum und den Tag der Schwachen anzeigen kann. Dazu verwende ich das DS231 RTC-Modul, das zur Kommunikation das I2C-Protokoll verwendet. Um dies zu verwenden, verbinden Sie sich mit-
- SCL bis A5
- SDA auf A4
Zuerst müssen Sie die Uhrzeit und das Datum auf der RTC mit der DS3231_set.ino . einstellen Programm aus der Bibliothek Beispiel.
Im Hauptprogramm binde ich die Bibliothek #include . ein und lesen Sie die Zeitdaten gemäß der Anweisung aus der Bibliothek. hier verwende ich das Beispiel aus der Bibliothek als Referenz für den Code. Ich habe für jeden Wochentag einen Fall erstellt, um den aktuellen Tag zu finden.
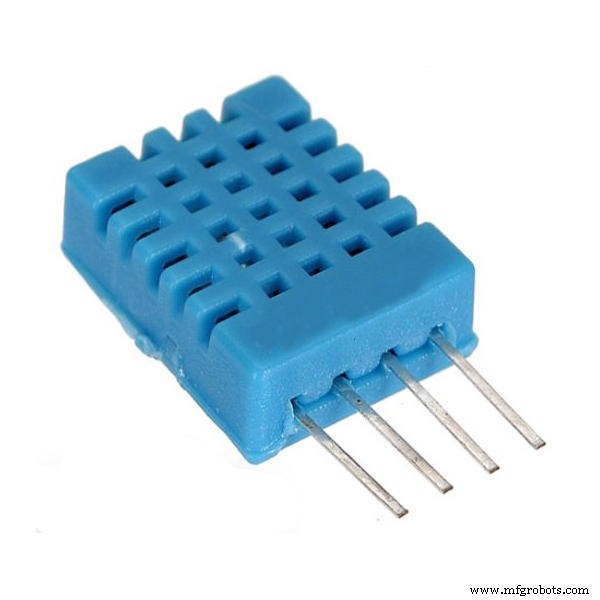
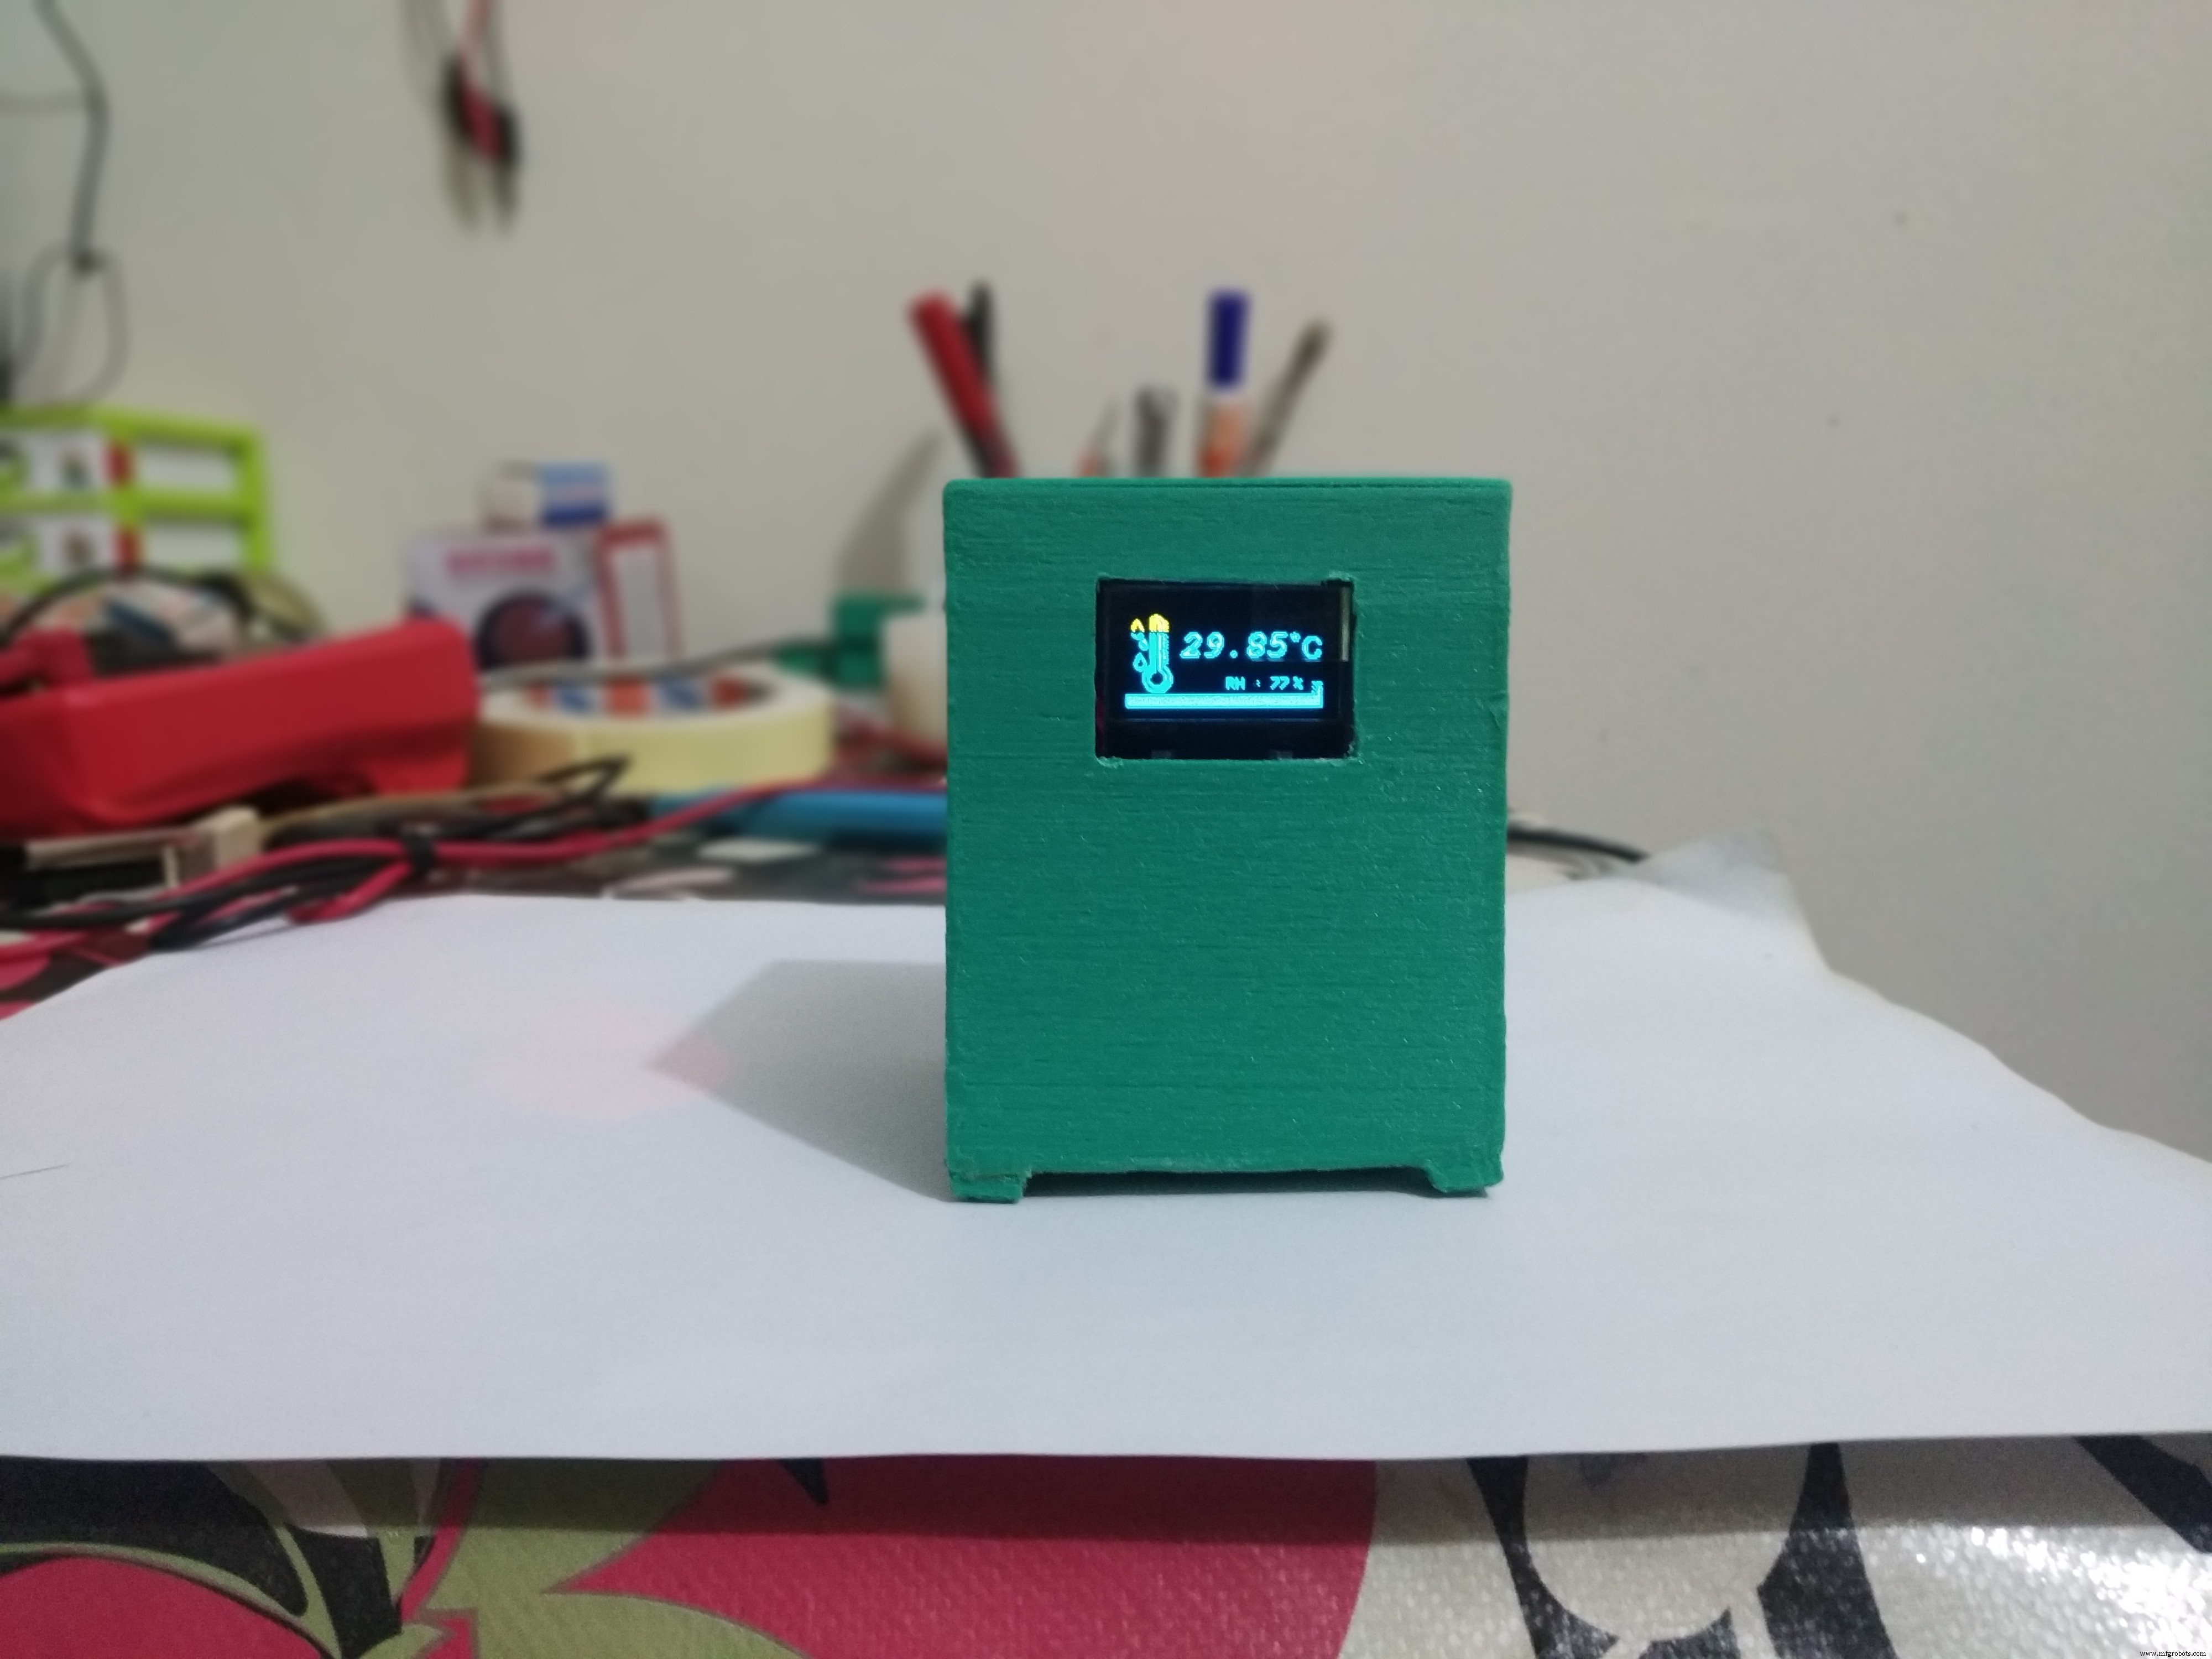
Schritt 4:DHT11
Ich benutze diesen Sensor um die Luftfeuchtigkeit zu messen. Dazu verbinde ich seine Daten zu Arduino D2 . Und in das Programm füge ich die DHT-Bibliothek #include . ein dann initialisiere ich im Setup den Sensor und in der Schleife lese ich den Feuchtigkeitswert mit dht.readHumidity() Befehl.
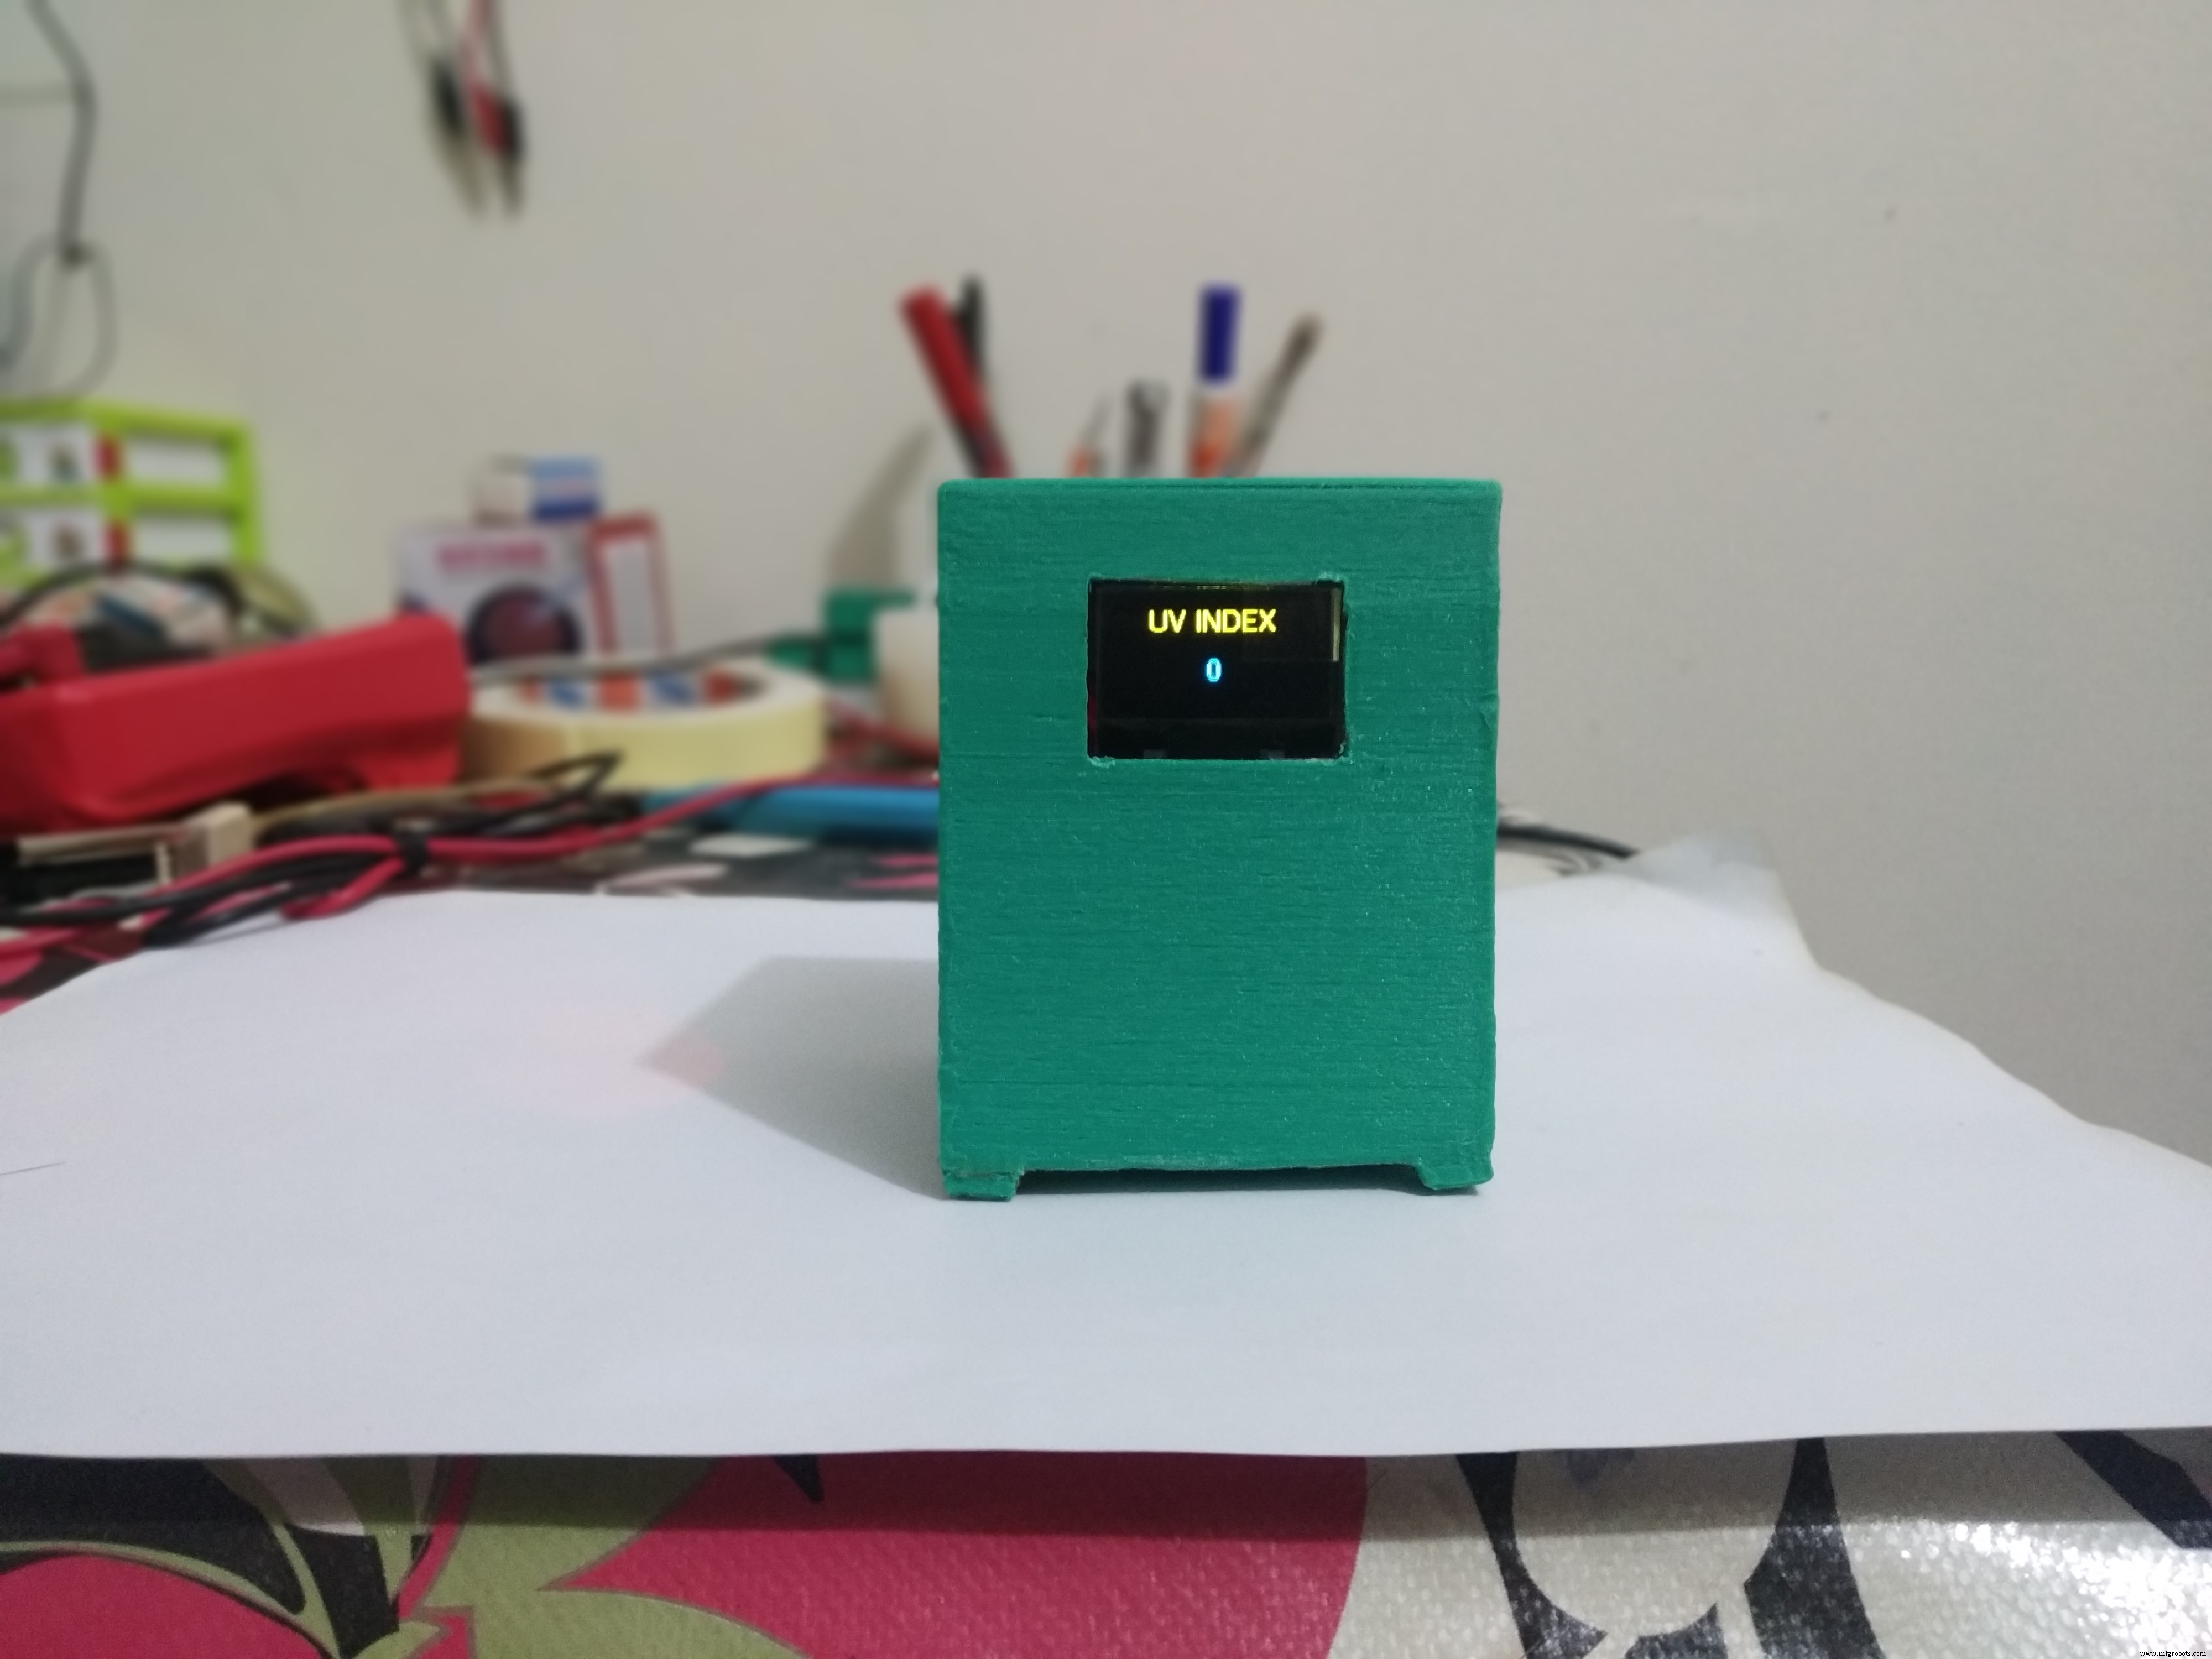
Schritt 5:GUVA-S12SD UV-Sensor
GUVA-S12SD ist eine auf Galliumnitrid basierende Schottky-Photodiode. Es hat eine typische UV-Detektionswellenlänge von 240-370 nm (die UVB und den größten Teil des UVA-Spektrums abdeckt). Es gibt eine kalibrierte Analogspannung aus, die mit der UV-Lichtintensität variiert. So können wir den Analogwert über Arduino ADC auslesen.
in der Loop-Funktion lese ich analog den Sensorwert aus und berechne den UV-Index
float sensorValue =analogRead(A0);
float sensorVoltage =sensorValue / 1024 * 5.0;
int UV_index =sensorVoltage / 0.1;
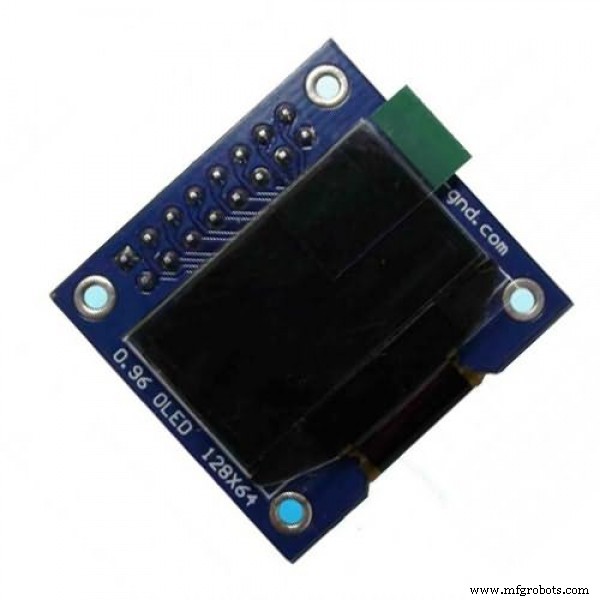
Schritt 6:OLED-Display
Ich verwende ein 0,96" 128 * 64 OLED-Display für dieses Projekt, es verwendet das I2C-Protokoll, also verbinde ich es wie folgt mit Arduino
- SCK zu A5
- SDA auf A4
In das Programm füge ich zunächst die Adafruit_SSD1306- und Adafruit_GFX-Bibliothek ein
#include
#include
dann erstelle ich die Anzeigevariable und füge auch einige Bitmaps hinzu, um einige Bilder anzuzeigen. Im Setup initialisiere ich das Display. dann zeige ich in der Schleife alle Daten mit dem display.print() Funktion. Ich zeige die Daten auf vier Seiten an, Zeit, Druck, Temperatur &Feuchtigkeit und UV_index. Zwischen jeder Seite gibt es eine Verzögerung von 5 Sekunden.
Videoclip
Code
- Lokaler Wetterstationscode
Lokaler WetterstationscodeArduino
#include#include #include #include #include #include #include #include #include //#include #define SCREEN_WIDTH 128#define SCREEN_fruit_HEIGHT 64#define , OLED_RESET);#define BMP_SCK (13)#define BMP_MISO (12)#define BMP_MOSI (11)#define BMP_CS (10)DS3231 clock;bool Century =false;bool h12Flag;bool pmFlag;Adafruit_BMP280 bmp(BMP_CS, BMP_MOSI, BMP_MISO , BMP_SCK);#define DHTPIN 2#define DHTTYPE DHT11DHT dht(DHTPIN, DHTTYPE);const unsigned char PROGMEM frame0 [] ={0x00, 0x00, 0x00, 0x00, 0x00, 0x00, 0x00, 0x00, 0x00, 0x00, 0x00 0x01, 0xFF, 0x80, 0x00, 0x00, 0x0F, 0xFF, 0xF0, 0x00, 0x00, 0x3F, 0xFF, 0xFC, 0x00, 0x00, 0x7F, 0x81, 0xFE, 0x00, 0x00, 0xFC, 0x00, 0x3F,01 0xF0, 0x00, 0x0F, 0x80, 0x03, 0xE0, 0x18, 0x07, 0xC0, 0x07, 0x86, 0 x18, 0x61, 0xE0, 0x0F, 0x02, 0x00, 0x40, 0xF0, 0x0F, 0x02, 0x00, 0x40, 0xF0, 0x1E, 0x00, 0x00, 0x00, 0x78, 0x1C, 0x40, 0x00, 0x02, 0x38 0x00, 0x06, 0x3C, 0x3C, 0x01, 0x80, 0x00, 0x3C, 0x38, 0x00, 0x80, 0x00, 0x1C, 0x38, 0x00, 0xC0, 0x00, 0x1C, 0x78, 0x00, 0xE0, 0x00, 01 0xF0, 0x03, 0x9E, 0x79, 0xC0, 0x7C, 0x03, 0x9E, 0x78, 0x00, 0x7E, 0x00, 0x1E, 0x38, 0x00, 0x7E, 0x00, 0x1C, 0x38, 0xFC, 0xFF, 0x3, Fx, 0x, 0x3 0x7E, 0x3F, 0x3C, 0x3C, 0xFE, 0x7E, 0x7F, 0x3C, 0x1C, 0x7E, 0x18, 0x7E, 0x38, 0x1E, 0x3F, 0x00, 0xFC, 0x78, 0x0F, 0x3F, 0xFC,C 0x3F, 0xFC,C 0xFF, 0xF8, 0xF0, 0x07, 0x87, 0xFF, 0xE1, 0xE0, 0x03, 0xC1, 0xFF, 0x83, 0xC0, 0x03, 0xF0, 0x3C, 0x0F, 0xC0, 0x01, 0xFC, 0x00 0x 0x7x,00 0x81, 0xFE, 0x00, 0x00, 0x3F, 0xFF, 0xFC, 0x00, 0x00, 0x0F, 0xFF, 0xF0, 0x00, 0x00, 0x01, 0xFF, 0x80, 0x00, 0x00, 0x00, 0x00, 0x00, 0x00, 0 0x00, 0x00, 0x00, 0x00, 0x00, 0x00, 0x00, 0x00};const unsigned char PROGMEM frame1 [] ={0x00, 0x00, 0x00, 0x00, 0x00, 0x00, 0x00, 0x18, 0x00, 0x00, 0x00, 0x00, 0x7E, 0x00, 0x00, 0x00, 0x00, 0xC3, 0x00, 0x00, 0x01, 0x00, 0x9D, 0x80, 0x00, 0 0xB4, 0xE0, 0x00, 0x06, 0x80, 0xA6, 0x80, 0x00, 0x04, 0xC0, 0xA6, 0xE0, 0x00, 0x0C, 0x40, 0xA6, 0xE0, 0x00, 0x08, 0x60, 0xA6, 0x, 0x 0xA6, 0xE0, 0x00, 0x08, 0x60, 0xA6, 0x80, 0x00, 0x0E, 0xC0, 0xA6, 0xE0, 0x00, 0x03, 0x80, 0xA6, 0x80, 0x00, 0x00, 0x10, 0xA6, 0x, 0 0xA6, 0xE0, 0x00, 0x00, 0x38, 0xA6, 0x80, 0x00, 0x00, 0x6C, 0xA6, 0xE0, 0x00, 0x00, 0x44, 0xA6, 0x80, 0x00, 0x00, 0x6C, 0xA6, 0x,0 0xA6, 0x80, 0x00, 0x00, 0x00, 0xA6, 0x80, 0x00, 0x00, 0x00, 0xA4, 0xE0, 0x00, 0x00, 0x00, 0xA6, 0x80, 0x00, 0x00, 0x40, 0xA6, 0xE00, 0x 0xA6, 0x80, 0x00, 0x01, 0xA0, 0xA6, 0xE0, 0x00, 0x01, 0x30, 0xA6, 0xE0, 0x00, 0x03, 0x10, 0xA6, 0x80, 0x00, 0x02, 0x18, 0xA6, 0x, 0x, 0xA6, 0x80, 0x00, 0x06, 0x08, 0xA6, 0x80, 0x00, 0x02, 0x19, 0xA6, 0xC0, 0x00, 0x03, 0xF3, 0x26, 0x60 , 0x00, 0x00, 0xC6, 0x26, 0x30, 0x00, 0x00, 0x0C, 0xE3, 0x10, 0x00, 0x00, 0x09, 0x80, 0x98, 0x00, 0x00, 0x19, 0x00, 0xC8, 0x00, 0x00, 0x6, 0x ., 0x13 , 0x00, 0x00, 0x12, 0x00, 0x6C, 0x00, 0x00, 0x12, 0x00, 0x6C, 0x00, 0x00, 0x12, 0x00, 0x6C, 0x00, 0x00, 0x1B, 0x00, 0x4C, 0x00, 0x00, 0x , 0x00, 0x00, 0x0C, 0xC1, 0x98, 0x00, 0x00, 0x04, 0x7F, 0x30, 0x00, 0x00, 0x06, 0x1C, 0x60, 0x00, 0x00, 0x03, 0x81, 0xC0, 0x00, 0x00, 0x , 0x00, 0x00, 0x00, 0x00, 0x00, 0x00, 0x00, 0x00, 0x00, 0x00, 0x00};const unsigned char PROGMEM frame2 [] ={0xFF, 0xFF, 0xFF, 0xFF, 0xFF, 0xFF, 0xFF, 0 .xFF, 0xFF , 0xFF, 0xFF, 0xFF, 0xFF, 0xFF, 0xFF, 0xFF, 0xFF, 0xFF, 0xFF, 0xFF, 0xFF, 0xFF, 0xFF, 0xFF, 0xFF, 0xFF, 0xFF, 0xFF, 0xFF, 0xFF, 0xFF, 0xFF, 0xFF, 0xFF, 0xFF , 0xFF, 0xFF, 0xFF, 0xFF, 0xFF, 0xFF, 0xFF, 0xFF, 0xFF, 0xFF, 0xFF, 0xFF, 0xFF, 0xFF, 0xFF, 0xFF, 0xFF, 0xFF, 0xFF, 0xFF, 0xFF, 0xFF, 0xFF, 0xFF, 0xFF, 0xFF , 0xFF, 0xFF, 0xFF, 0xFF, 0xFF, 0xFF, 0xFF, 0xFF, 0xFF, 0xFF, 0xFF, 0xFF, 0xFF, 0xFF, 0xF F, 0xFF, 0xFF, 0xFF, 0xFF, 0xFF, 0xFF, 0xFF, 0xFF, 0xFF, 0xFF, 0xFF, 0xFF, 0xFF, 0xFF, 0xFF, 0xFF, 0xFF, 0xFF, 0xFF, 0xFF, 0xFF, 0xFF, 0xFF, 0xFF 0xFF, 0xFF, 0xFF, 0xFF, 0xFF, 0xFF, 0xFF, 0xFF, 0xFF, 0xFF, 0xFF, 0xFF, 0xFF, 0xFF, 0xFF, 0xFF, 0xFF, 0xFF, 0xFF, 0xFF, 0xFF, 0xFF, 0xFF, 0xFF, 0xFF, 0xFF, 0xFF 0xFF, 0xFF, 0xFF, 0xFF, 0xFF, 0xFF, 0xFF, 0xFF, 0xFF, 0xFF, 0xFF, 0xFF, 0xFF, 0xFF, 0xFF, 0xFF, 0xFF, 0xFF, 0xFF, 0xFF, 0xFF, 0xFF, 0xFF, 0xFF, 0xFF, 0xFF, 0xFF 0xFF, 0xFF, 0xFF, 0xFF, 0xFF, 0xFF, 0xFF, 0xFF, 0xFF, 0xFF, 0xFF, 0xFF, 0xFF, 0xFF, 0xFF, 0xFF, 0xFF, 0xFF, 0xFF, 0xFF, 0xFF, 0xFF, 0xFF, 0xFF, 0xFF, 0xFF, 0xFF 0xFF, 0xFF, 0xFF, 0xFF, 0xFF, 0xFF, 0xFF, 0xFF, 0xFF, 0xFF, 0xFF, 0xFF, 0xFF, 0xFF, 0xFF, 0xFF, 0xFF, 0xFF, 0xFF, 0xFF, 0xFF, 0xFF, 0xFF, 0xFF, 0xFF, 0xFF, 0xFF 0xFF, 0xFF, 0xFF, 0xFF, 0xFF, 0xFF, 0xFF, 0xFF, 0xFF, 0xFF, 0xFF, 0xFF, 0xFF, 0xFF, 0xFF, 0xFF, 0xFF, 0xFF, 0xFF, 0xFF, 0xFF, 0xFF, 0xFF, 0xFF, 0xFF, 0xFF, 0xFF 0xFF, 0xFF, 0xFF, 0xFF, 0xFF, 0xFF, 0xFF, 0xFF, 0xFF, 0xFF, 0xFF, 0xFF, 0xFF, 0xFF, 0xFF, 0xFF, 0xFF, 0 xFF, 0xFF, 0xFF, 0xFF, 0xFF, 0xFF, 0xFF, 0xFF, 0xFF, 0xFF, 0xFF, 0xFF, 0xFF, 0x80};void setup () { Serial.begin (57600); if (!display.begin(SSD1306_SWITCHCAPVCC, 0x3C)) {Serial.println(F("SSD1306 fehlgeschlagen")); } Wire.begin(); dht.begin(); if (!bmp.begin()) {Serial.println(F("Problem.bmp")); während (1) Verzögerung (10); } display.clearDisplay(); display.setTextColor (WEISS); display.setTextSize(1); display.setCursor(0, 9); display.setFont(&FreeSans9pt7b); display.println("**** LOKAL ****"); display.setCursor(0, 38); display.setFont(&FreeMonoBoldOblique12pt7b); display.println("Wasser"); display.setCursor(27, 58); display.println("Station"); display.display(); Verzögerung (2000); bmp.setSampling(Adafruit_BMP280::MODE_NORMAL, /* Operating Mode. */ Adafruit_BMP280::SAMPLING_X2, /* Temp. Oversampling */ Adafruit_BMP280::SAMPLING_X16, /* Druck Oversampling */ Adafruit_BMP280:/*Filtering_X16, */ Adafruit_BMP280::STANDBY_MS_500); /* Standby-Zeit. */}void loop () { // Zeitanzeige.clearDisplay (); display.setTextColor (WEISS); display.setTextSize(1); display.setCursor(13, 15); display.setFont(&FreeMonoBoldOblique12pt7b); display.print (clock.getHour(h12Flag, pmFlag)); display.setCursor(38, 15); display.println(":"); display.setCursor(50, 15); display.println (clock.getMinute()); display.setCursor(70, 15); if (pmFlag) {display.println("PM"); } else { display.println(" AM "); } display.setFont(&FreeSans9pt7b); display.setCursor(20, 60); display.println (clock.getDate()); display.setCursor(40, 60); display.println("/"); display.setCursor(46, 60); display.println(clock.getMonth(Jahrhundert)); display.setCursor(65, 60); display.println("/"); display.setCursor(70, 60); display.println("20"); display.setCursor(90, 60); display.println (clock.getYear()); display.setCursor (30, 30); display.setFont(&FreeSans9pt7b); switch (clock.getDoW()) { Fall 1:display.println("Samstag"); brechen; Fall 2:display.println("Sonntag"); brechen; Fall 3:display.println("Montag"); brechen; Fall 4:display.println("Dienstag"); brechen; Fall 5:display.println("Mittwoch"); brechen; Fall 6:display.println("Donnerstag"); brechen; Fall 7:display.println("Freitag"); brechen; } display.display(); Verzögerung (5000); //P display.clearDisplay(); display.drawBitmap(0, 0, frame0, 40, 40, 1); display.setFont(&FreeSans9pt7b); display.setCursor(41, 28); display.println (bmp.readPressure() / 100); display.setCursor(110, 28); display.setFont(); display.println("hPa"); display.setCursor(0, 55); display.setFont(&FreeSans9pt7b); display.println("Höhe:"); display.setCursor(65, 62); display.println(bmp.readAltitude(1005.47)); display.setCursor(113, 62); display.println("m"); display.display(); Verzögerung (5000); //T&RH display.clearDisplay(); display.setFont(&FreeMonoBoldOblique12pt7b); display.drawBitmap(0, 5, frame1, 40, 51, 1); display.setCursor(35, 30); display.print (bmp.readTemperature()); display.setFont(&FreeSans9pt7b); display.setCursor(102, 28); display.println(" *"); display.setCursor(110, 31); display.println(" C"); display.setFont(); display.setCursor(66, 45); display.println("RH:"); Byte RH =dht.readHumidity(); display.setCursor(95, 45); display.println(RH); display.setCursor(110, 45); display.println("%"); display.drawBitmap(0, 56, frame2, 135, 15, 1); display.display(); Verzögerung (5000); // UV-display.clearDisplay (); float sensorValue =analogRead(A0); float sensorVoltage =sensorValue / 1024 * 5,0; int UV_index =sensorVoltage / 0.1; display.setFont(&FreeSans9pt7b); display.setCursor(0, 15); display.print("UV-INDEX"); display.setCursor(58, 45); display.println (UV_index); display.display(); Verzögerung(5000);}
Kundenspezifische Teile und Gehäuse
Schaltpläne
Herstellungsprozess
- Wetterstation basierend auf Raspberry Pi
- Raspberry Pi 2 Wetterstation
- Raspberry Pi Wetterstation
- Wetterstation V 2.0
- 6-Shooter:Arduino-Getränkemischstation
- Multi-Temperatursensor
- Arduino-betriebener Wetterballon-Datenlogger
- $10 Portable Arduino Wetterstation (AWS)
- ThingSpeak Arduino Wetterstation
- WiFi ESP8266 und DHT22 Sensor