



PiBot: Arduino-gesteuerter Klavierroboter für präzise Musikwiedergabe
Komponenten und Materialien
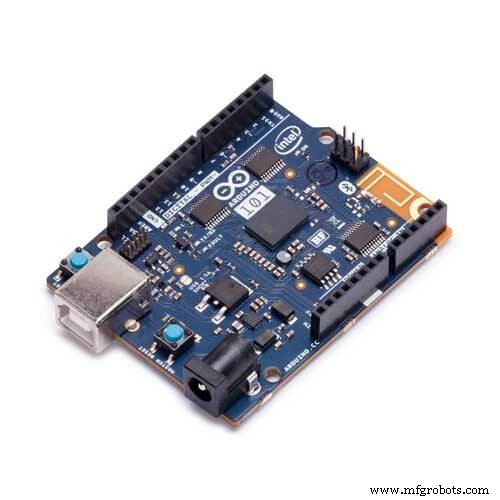 |
Arduino 101 | × | 1 |
| Texas Instruments 74HC595 | × | 11 | |
| IRFZ44N (N-Kanal MOSFET) | × | 88 | |
| 12V Batterie | × | 2 | |
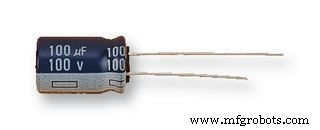 |
Kondensator 100 µF | × | 11 |
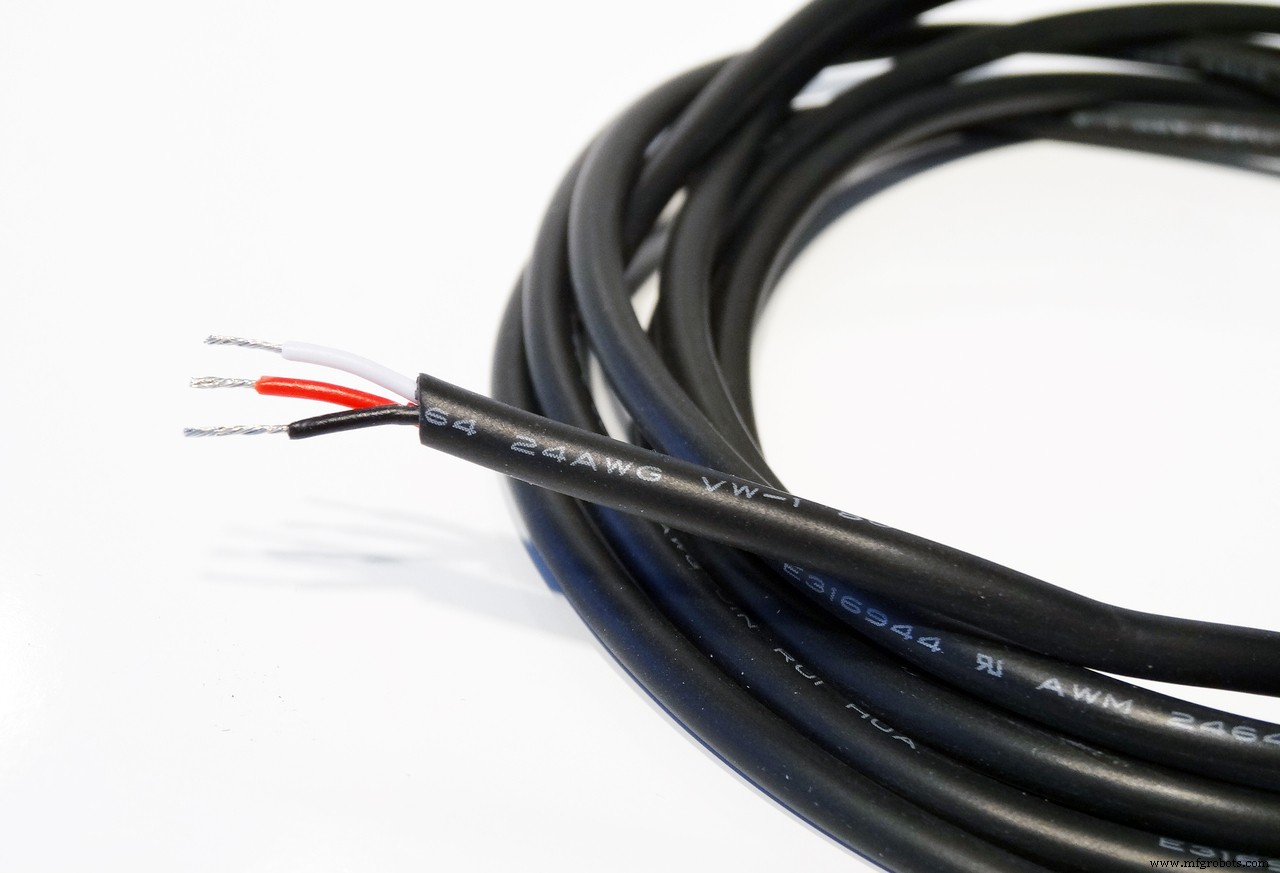 |
OpenBuilds Wire Cable – per Foot | × | 1 |
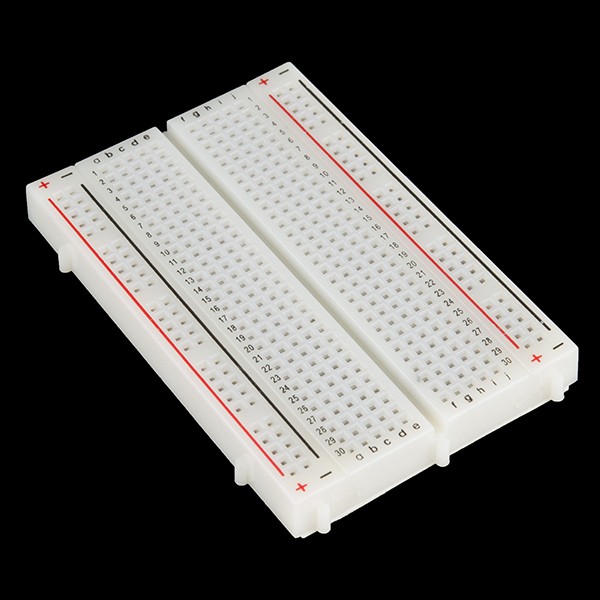 |
Breadboard (generic) oder Lochrasterplatine | × | 11 |
| 8-Bein IC-Sockel (optional, falls Sie keine teuren 595 verbrennen wollen) | × | 11 | |
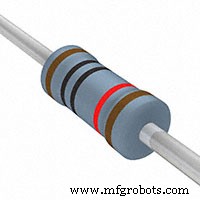 |
Widerstand 10 kΩ (nicht im Projekt verwendet, aber empfohlen für jeden MOSFET) | × | 88 |
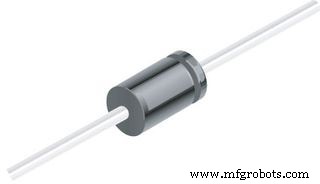 |
1N4007 – Hochspannungsdiode (nicht verwendet, aber empfohlen für jeden MOSFET) | × | 88 |
Benötigte Werkzeuge und Maschinen
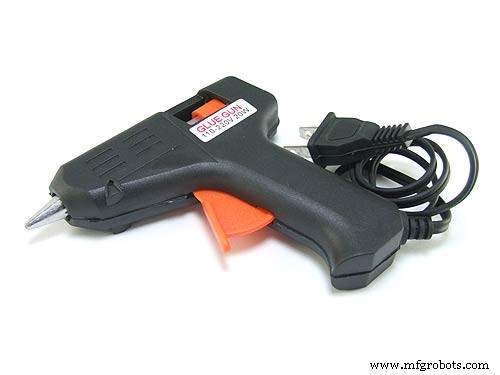 |
Heißklebepistole |
Apps und Online-Dienste
| Processing | |
| Python | |
| Binary MIDI file to text (Konverter) |
Über dieses Projekt
Wie alles begann
Vor vielen Jahren stellte Yamaha ein selbstspielendes Klavier vor. Als junger, unbescholtener Beobachter sah ich es hinter dem Schaufenster eines Musikgeschäfts spielen.
Kurz gesagt: Es gab keinen großen Grund für dieses Projekt – ich wollte es einfach bauen.
Übersicht
Ein einzelnes Arduino Mega Board kostet ca. 40 $, und man bräuchte zwei, um 88 Solenoide zu steuern – recht teuer. Stattdessen nimmt man einen günstigen Arduino Uno und 11 Schieberegister (Shift Registers). Ein Schieberegister ermöglicht die Steuerung vieler Ausgänge (üblicherweise LEDs) mit wenigen Pins. So steuert ein Arduino mit 11 Schieberegistern 88 Solenoide.
Da Schieberegister verwendet werden, sendet der PC eine Bitfolge an den Arduino statt MIDI-Befehle. Die MIDI-Datei wird vorher in eine Bitfolge umgewandelt.
Hardware
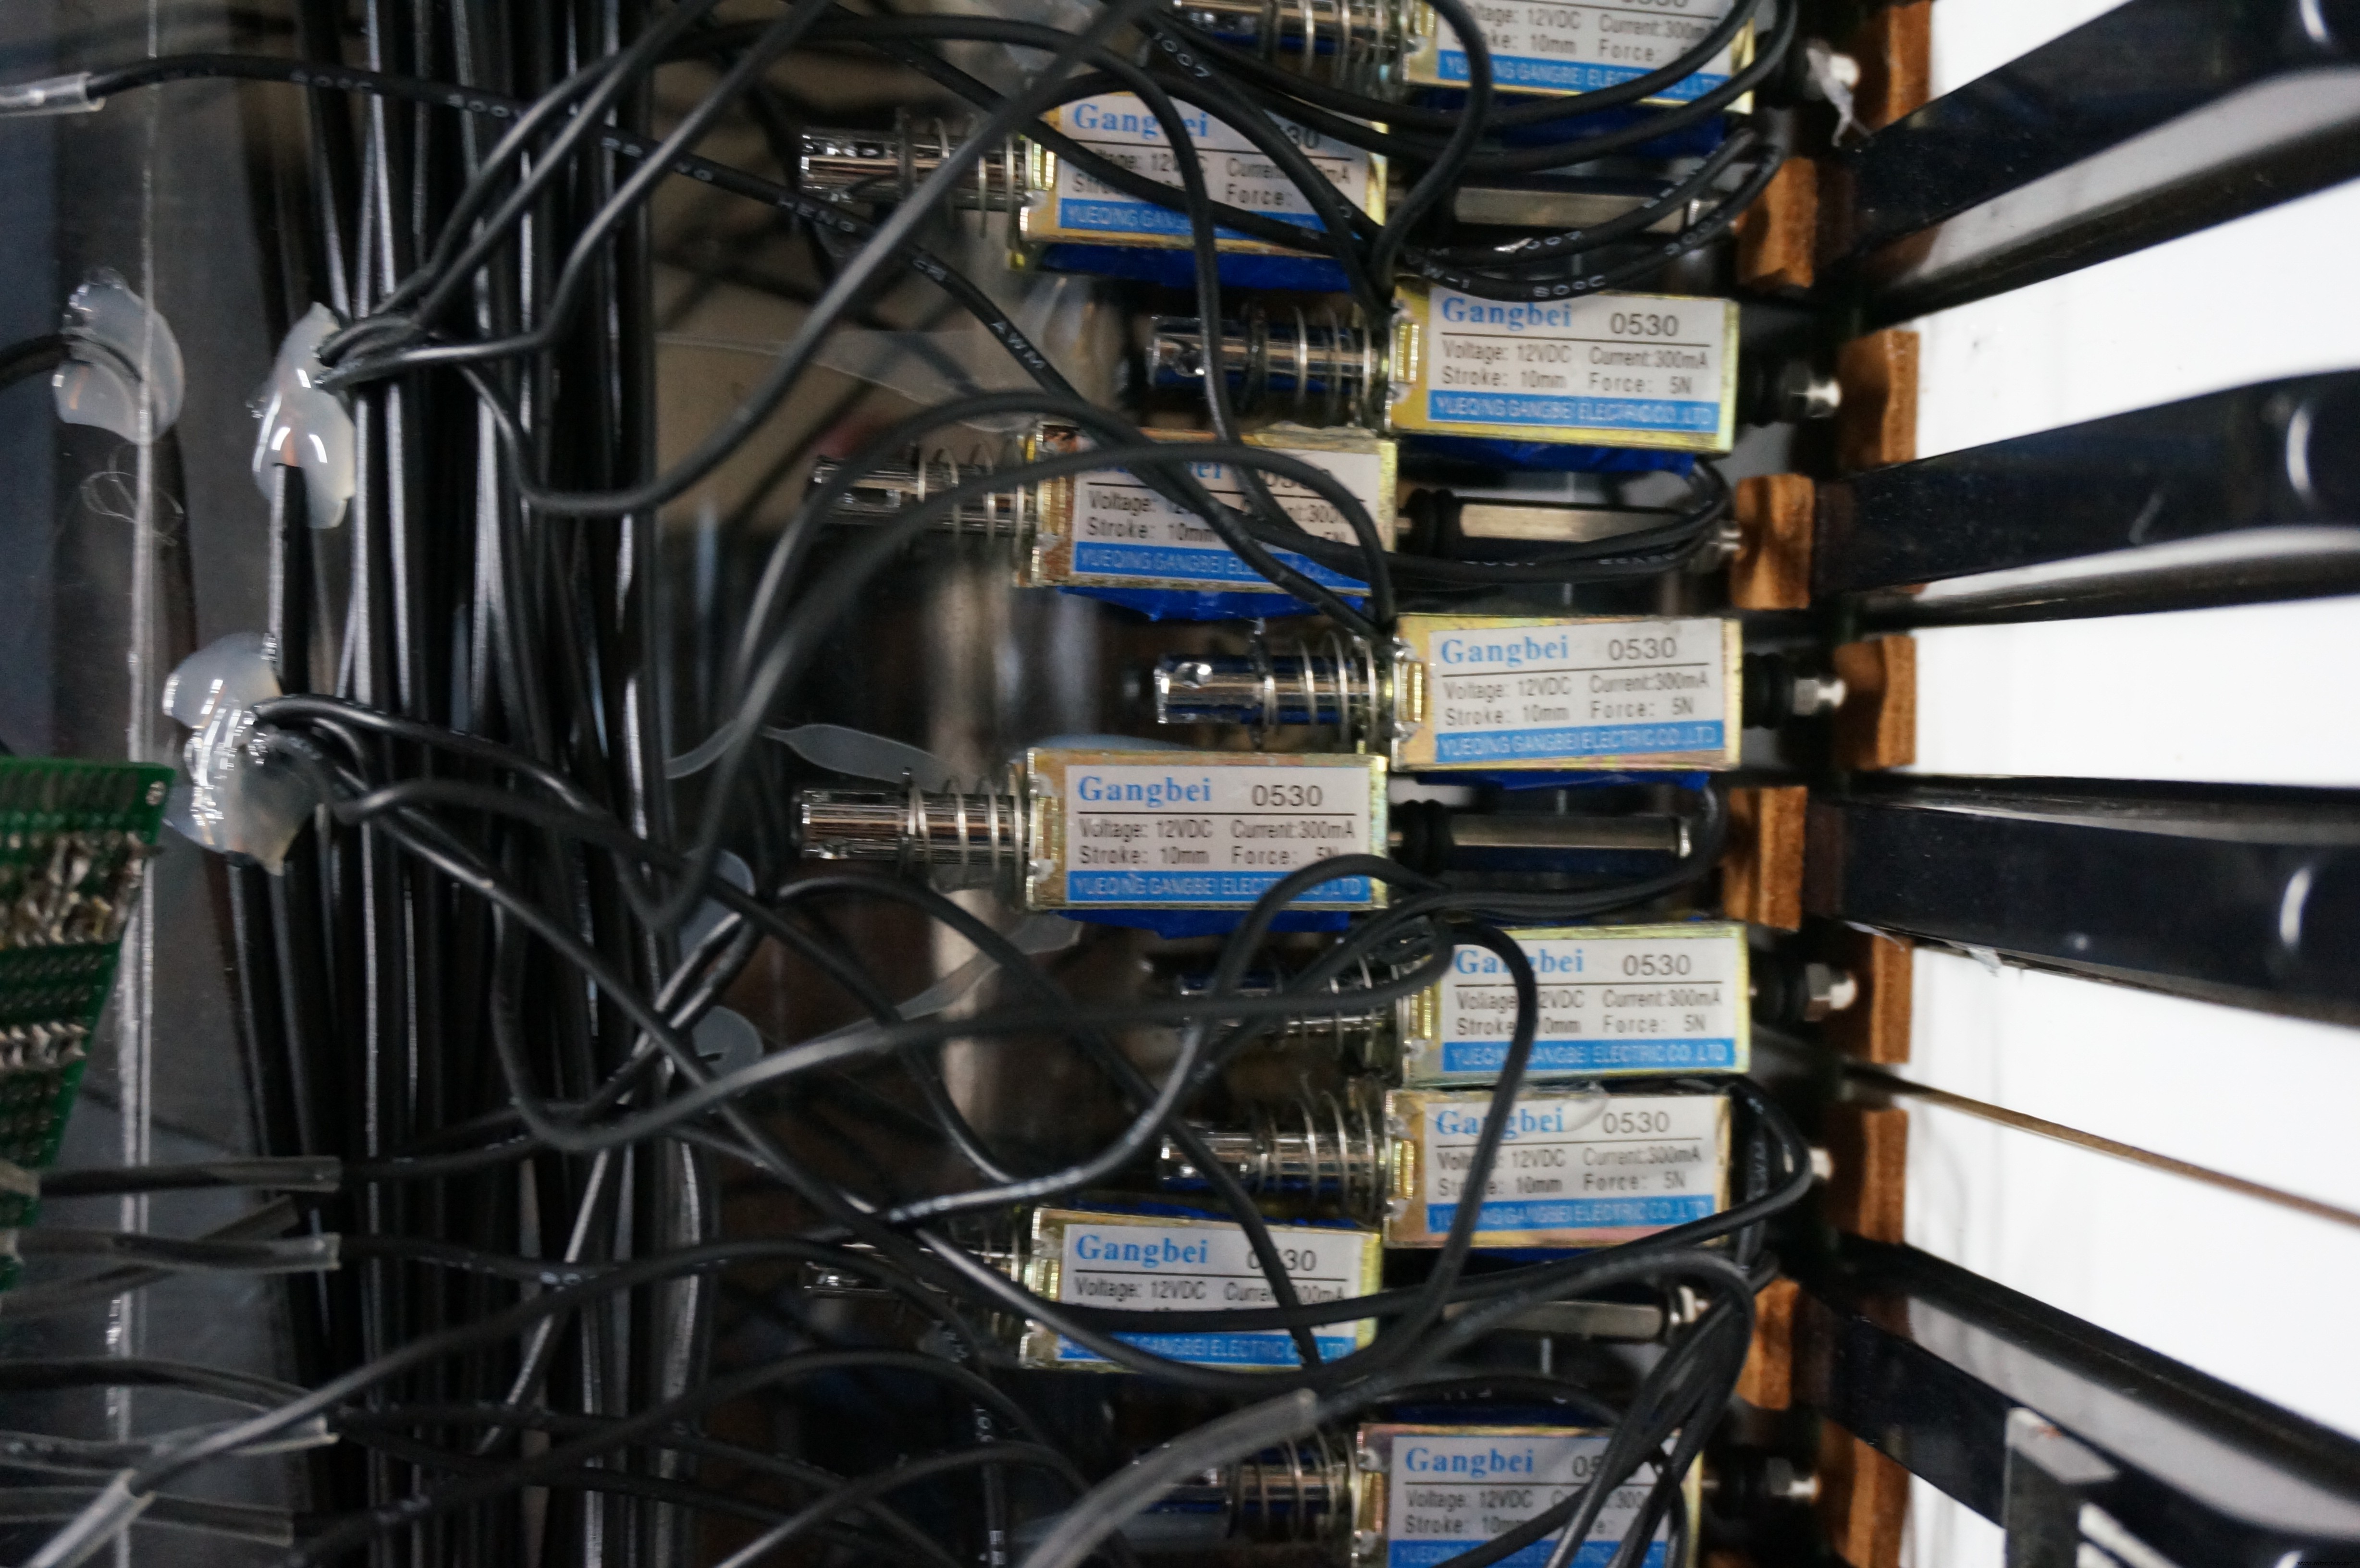
Die Solenoide aus China erwiesen sich als zu schwach, um Klaviertasten zu drücken. Das Drücken am innersten Punkt erfordert mehr Kraft, aber ich fand dies die schonendste Methode für das Klavier. Schließlich speiste ich 24 V in die 12 V-Solenoide, um genügend Kraft zu erzielen.
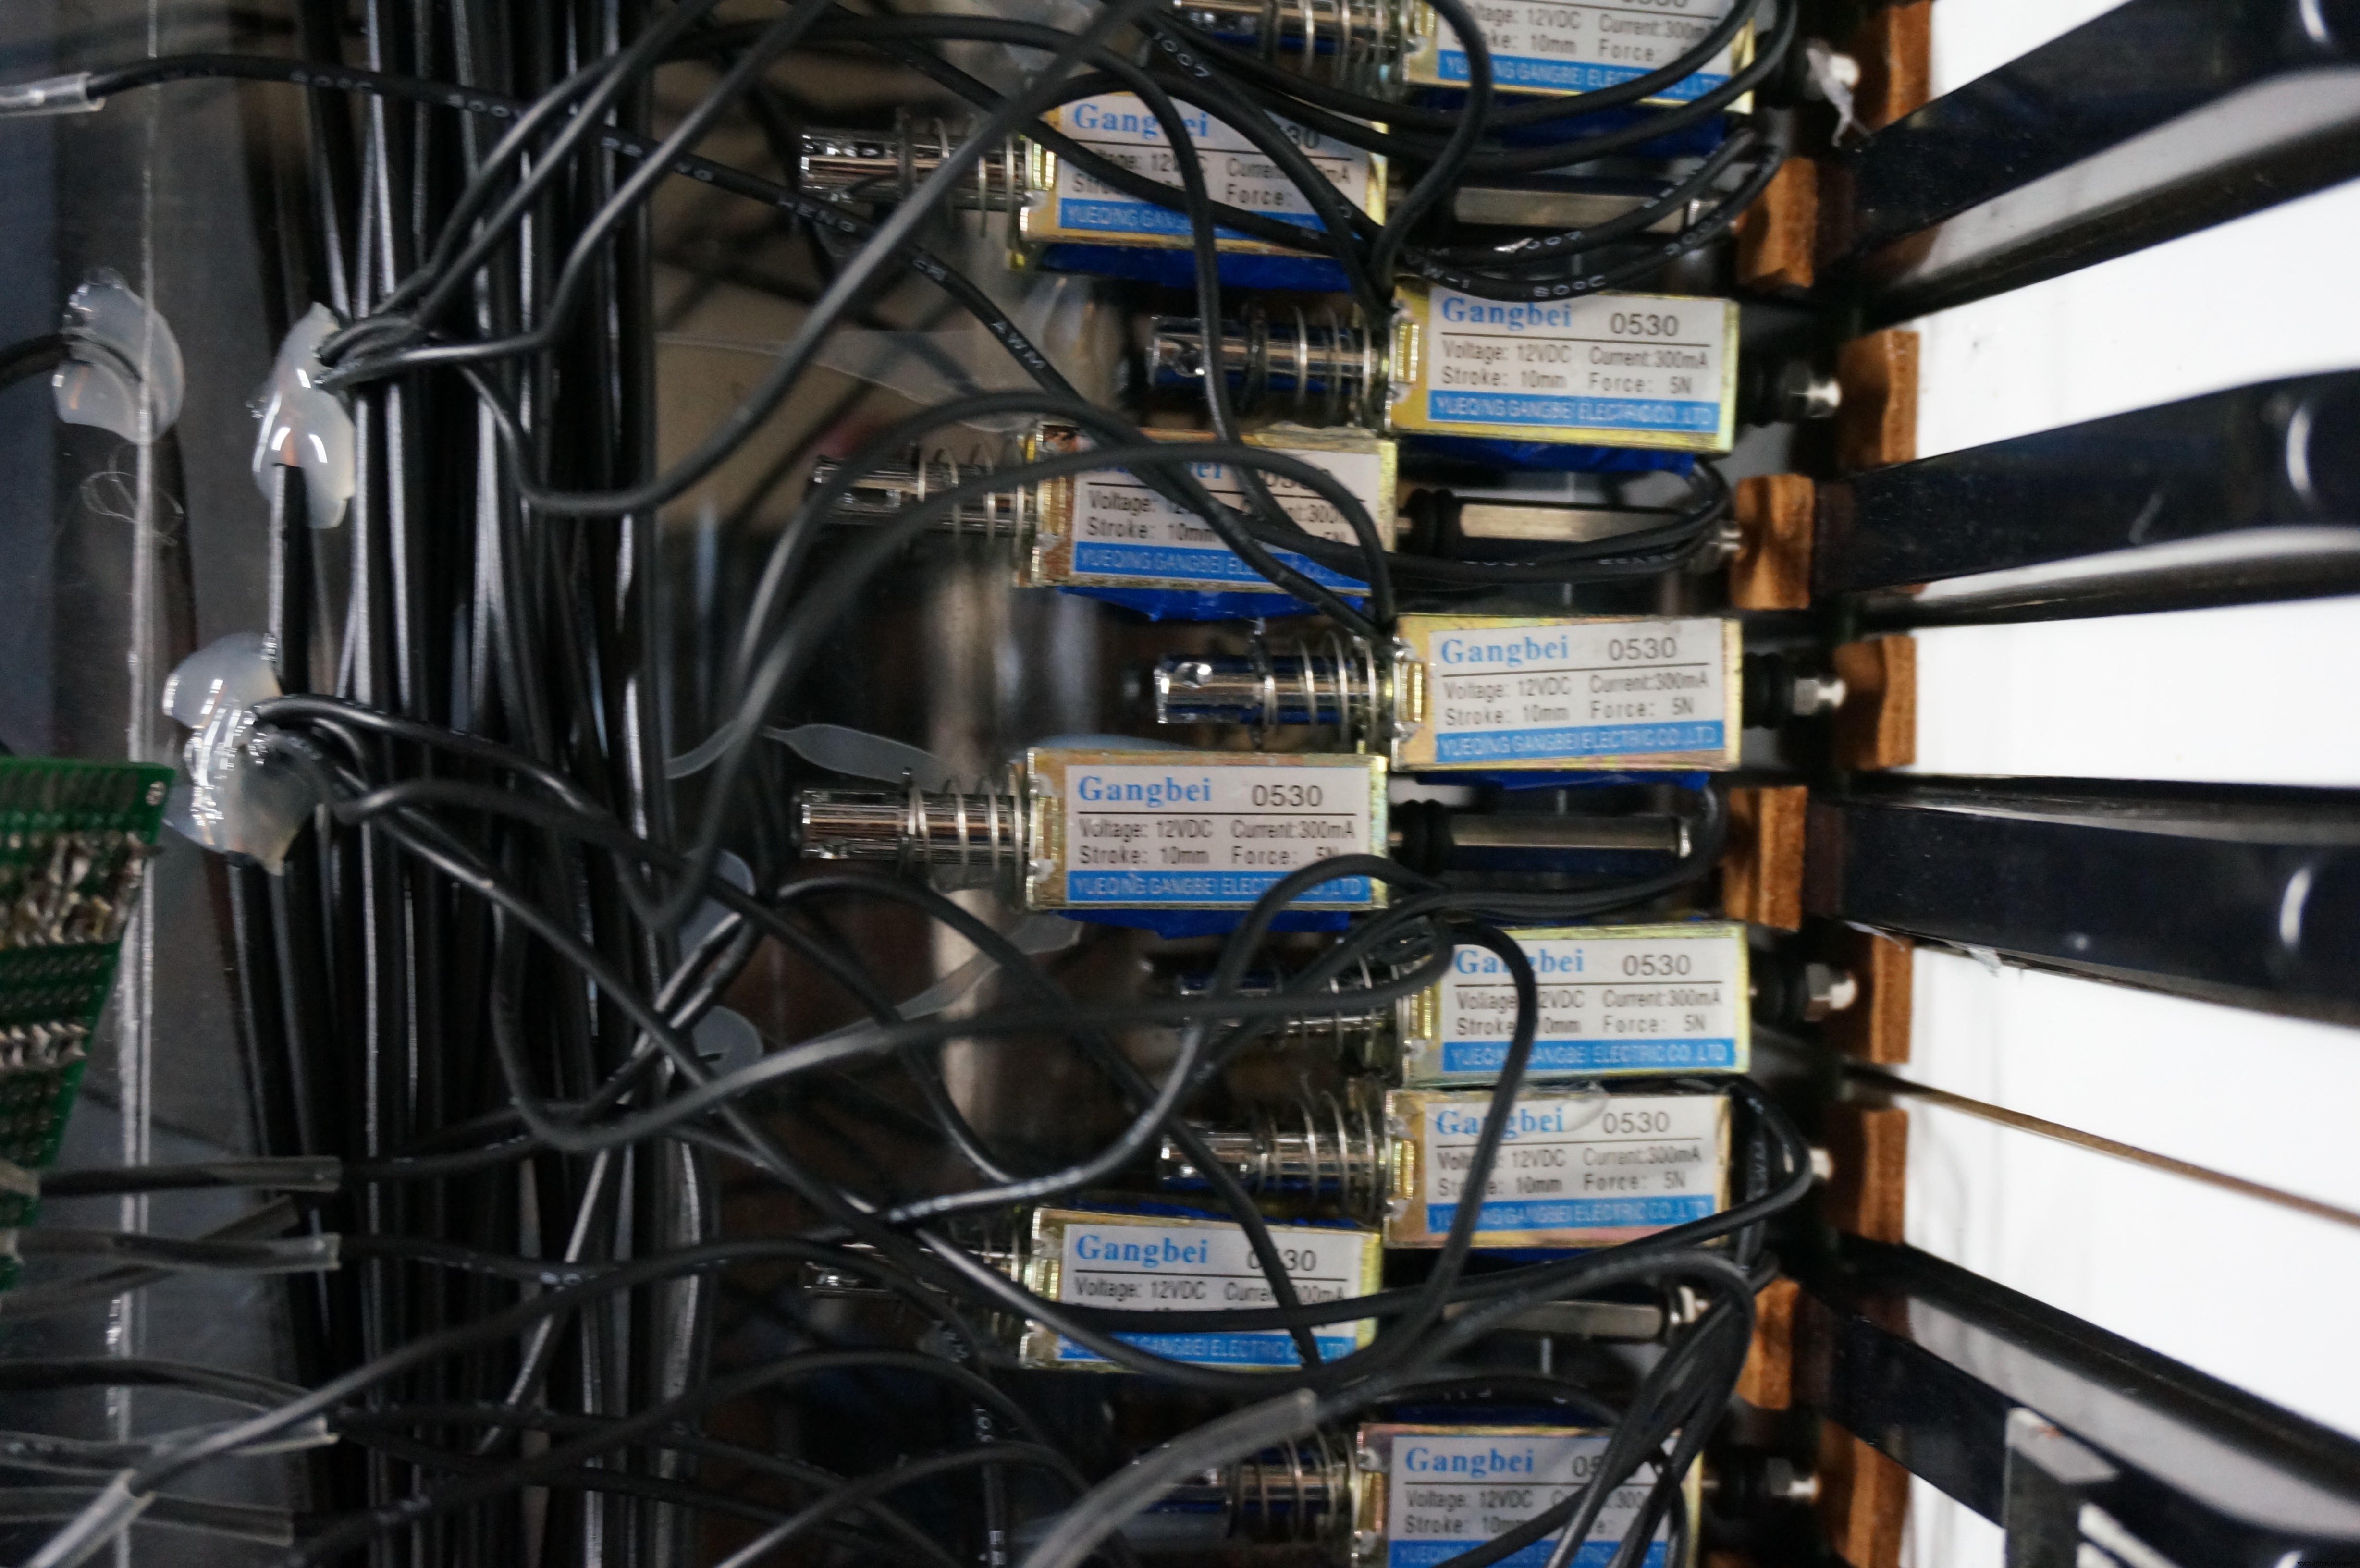
88 Solenoide verbrauchen viel Strom. Da ich kein teures Netzteil kaufen konnte, nutzte ich die Autobatterie meines Vaters (der nun nicht mehr wegfahren kann!).
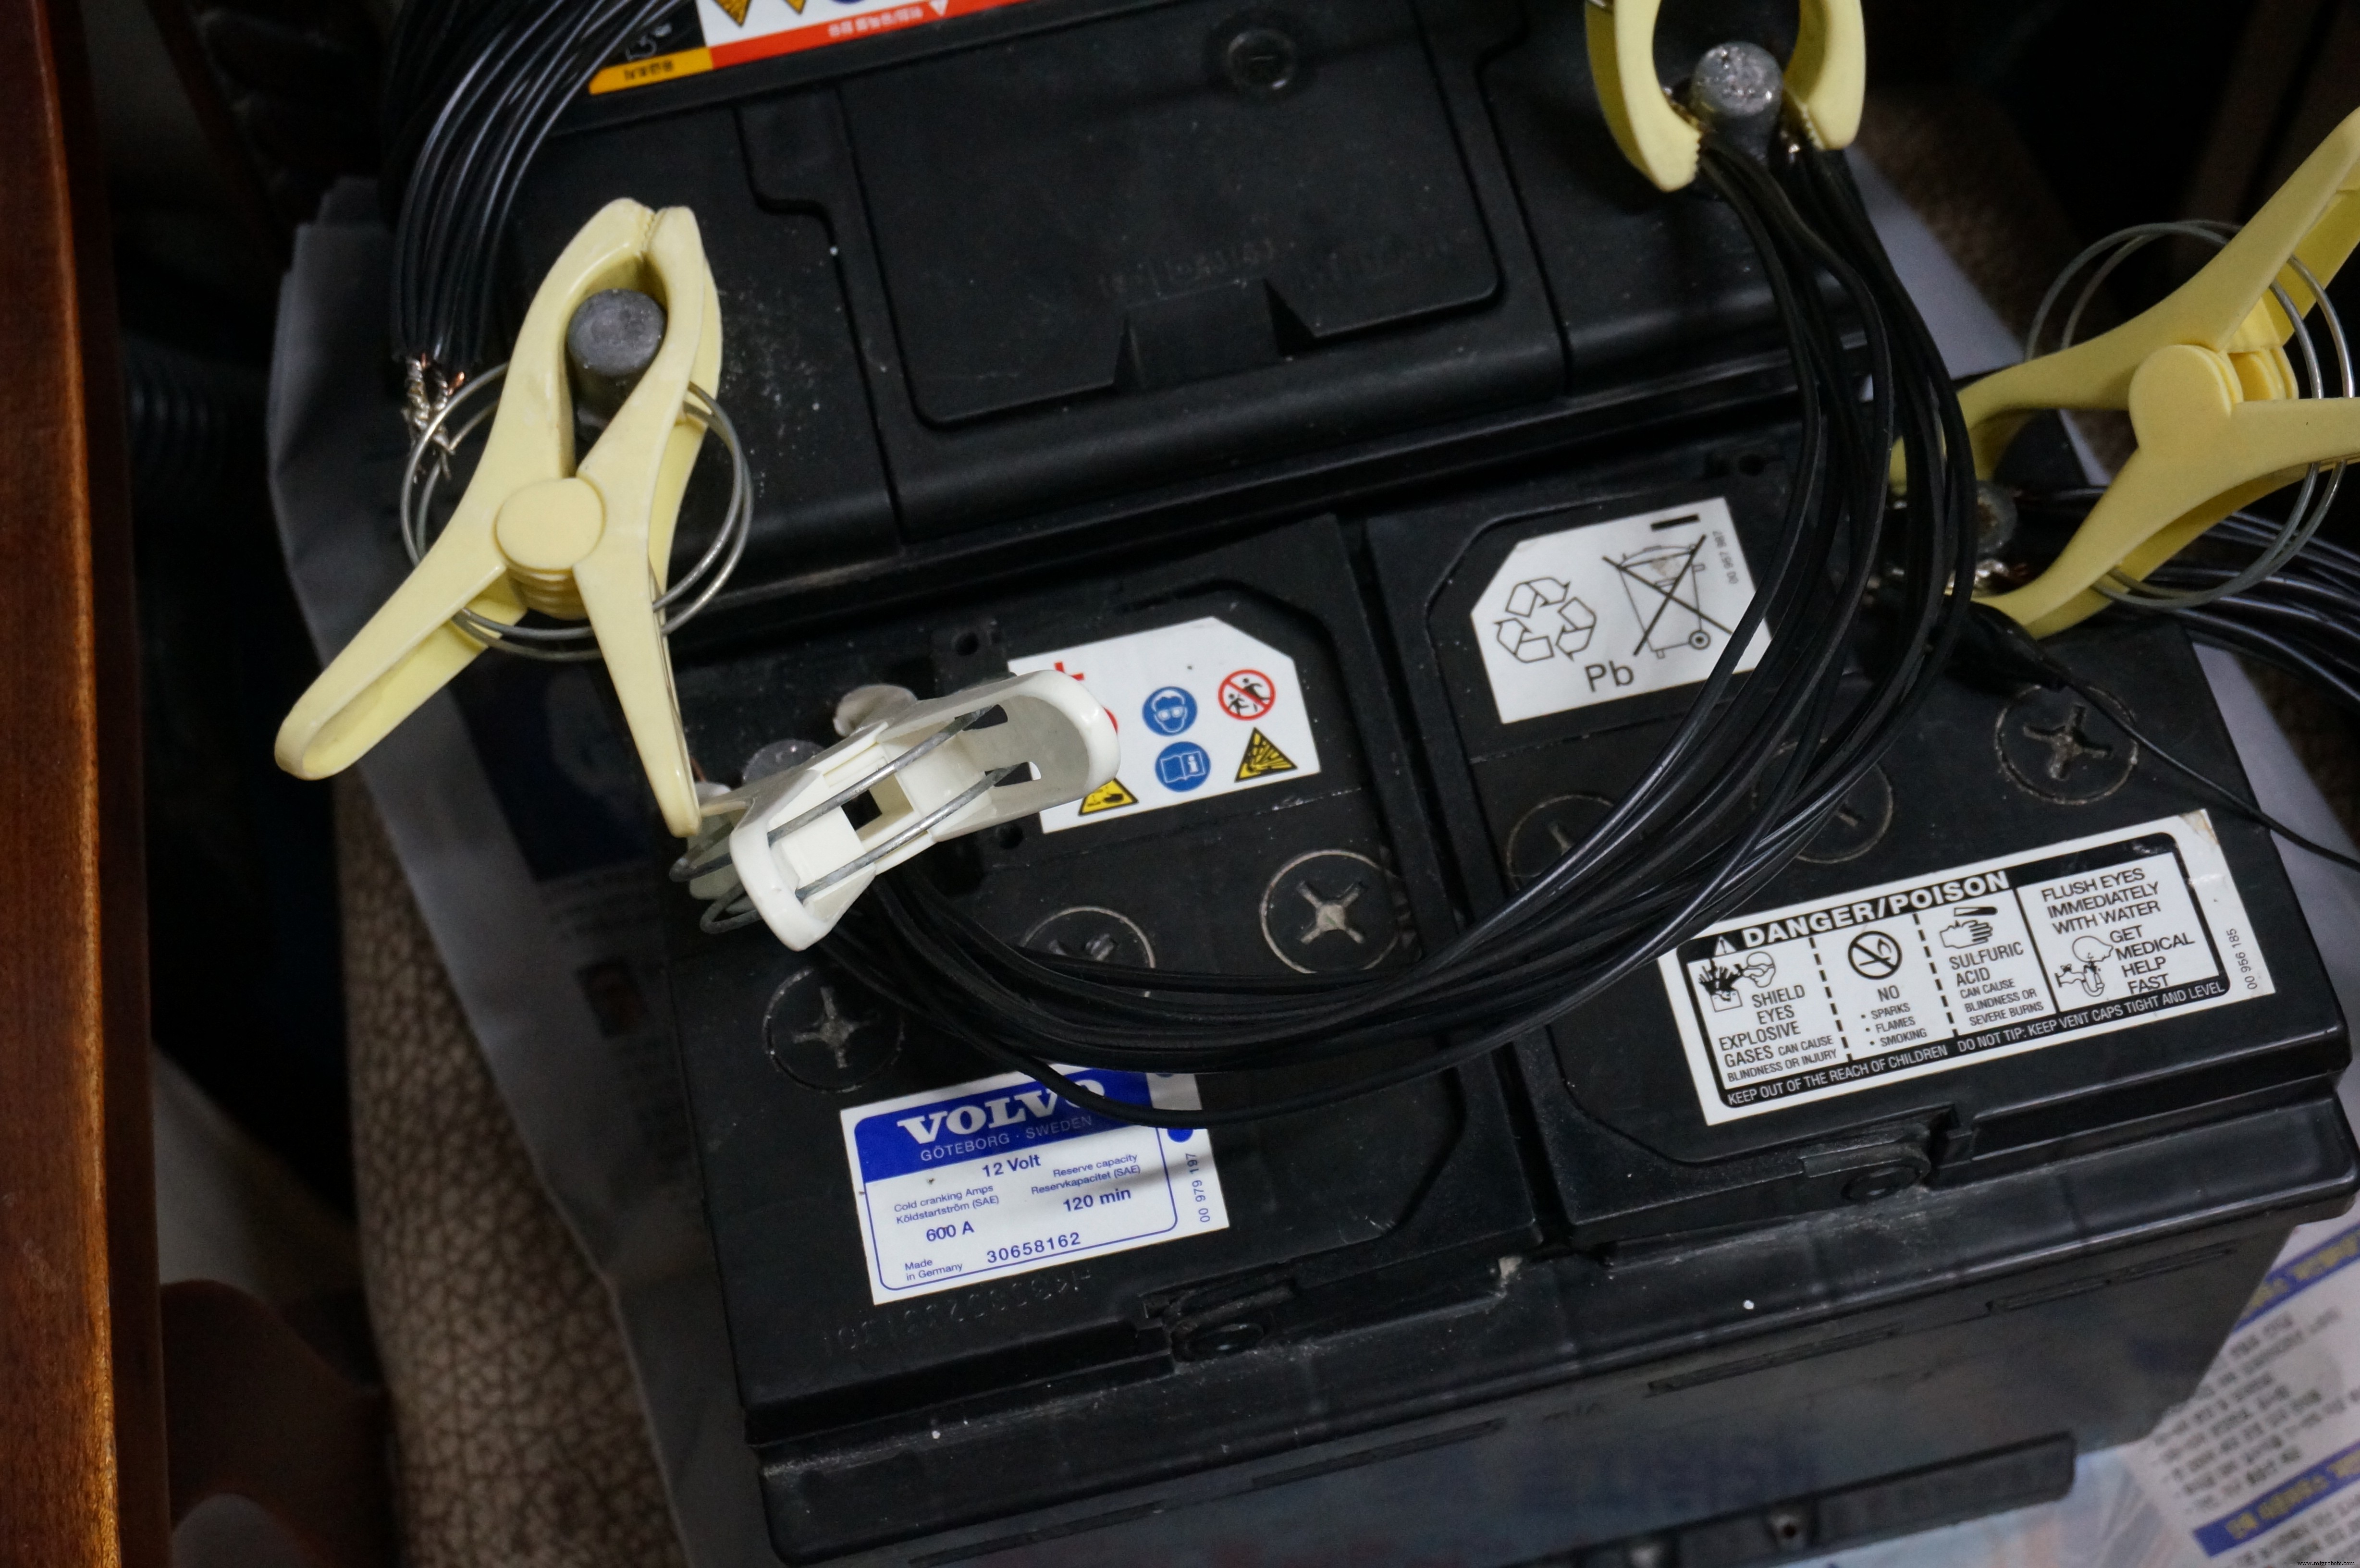
Jedes Schieberegister und jeder MOSFET kommt auf eine eigene Steuerplatine.
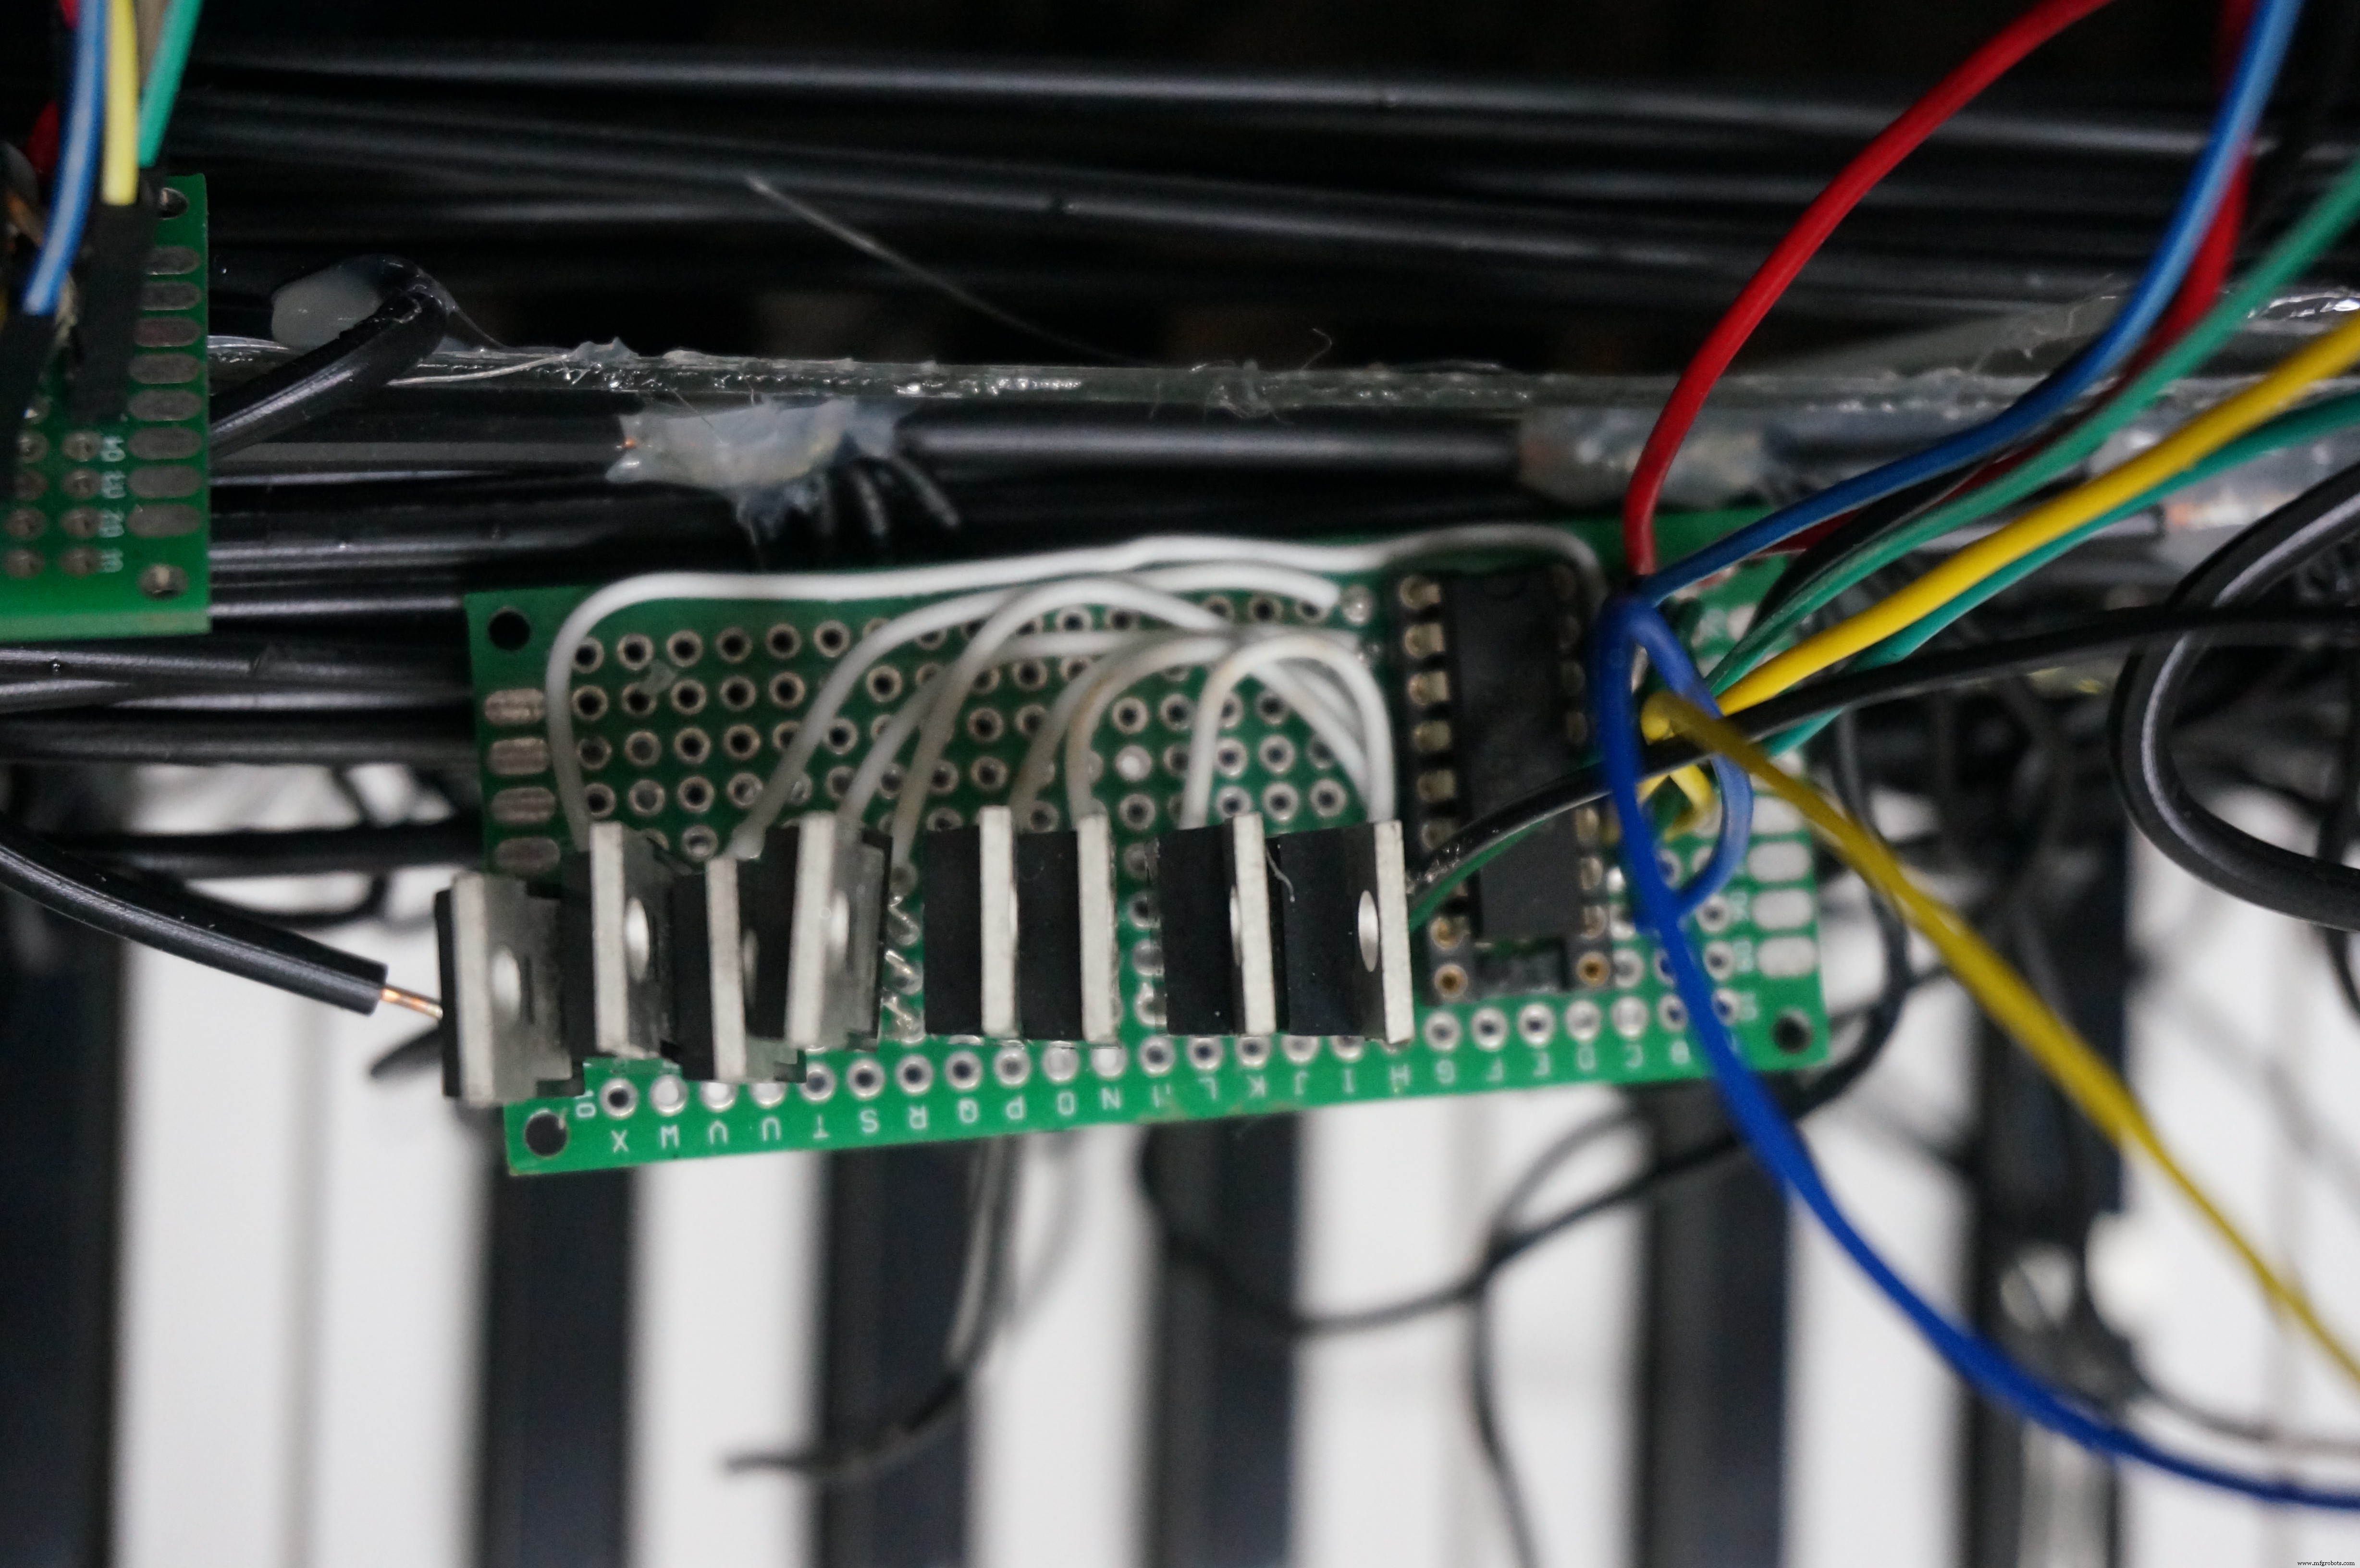
Der 74HC595 rechts ist mit einem Sockel bestückt, falls er durchbrennt (passierte einmal). Der Schaltplan entspricht exakt Beispiel 2 aus dem Datenblatt – ersetzen Sie die LEDs durch MOSFET-Gates. Auf Pull-Down-Widerstände wurde verzichtet, um Kosten und Lötaufwand zu sparen. Die MOSFETs schalten bei 5 V ein und unter 4 V aus – in zahllosen Tests bestätigt (theoretisch nicht ganz korrekt, aber praktisch funktionsfähig).
Zuletzt wird eine Kunststoffplatte verwendet, um die Solenoide aufzukleben. Heißkleber und Kunststoff sind wegen der Hitzeentwicklung nicht ideal, aber die günstigste Lösung.
Eine Seite der Solenoid-Kabel wird an den Pluspol der Batterie angeschlossen.
Software
- Eine MIDI-Datei besorgen.
- Die MIDI-Datei in Textform umwandeln, z. B. über flashmusicgames.com/midi/mid2txt.php.
- Zeitangaben, Taktart und Tempo ignorieren. Das Tempo kann später mit dem Zeitwert multipliziert werden. Ziel ist eine Datei im Format: Zeit, On/Off, Kanal, Note, Velocity.
- Mit dem beiliegenden Python-Skript werden daraus 11 Blöcke à 8 Bit mit Zeitstempel erzeugt.
- Diese Daten werden über Processing (COM-Port) an den Arduino gesendet.
Siehe Anhänge, wie Processing die Daten sendet und der Arduino sie verarbeitet. Hinweis: Mein Programmierstil ist gewöhnungsbedürftig; Processing sendet die Daten von rechts nach links, weil der Arduino die Bits physikalisch von rechts nach links auf dem Klavier ausgibt.
Fehlersuche
Ein professioneller Ingenieur würde viele Probleme sehen – und sie existieren tatsächlich.
Da die Solenoide mit Heißkleber befestigt waren, führte Überhitzung zum Schmelzen des Klebers. Lösung: Entfernen und doppelseitiges Hitzeband (bis 150 °C) verwenden.
Code
- Python-Code zur Übersetzung
- Processing-Skript zum Senden an den Arduino
- Arduino-Code
Python-Code zur Übersetzung
output_file = open("translated.txt", "w")
input_file = open("megalocania.txt")
raw_input_data = input_file.read()
work_data = raw_input_data.splitlines()
result = []

def main():
    for a in work_data:
        temp_time = time_finder(a)
        if not result:
            result.append(str(temp_time) + ",")
        if on_off_finder(a):
            result[-1] += set_bit(True, note_finder(a))
        elif not on_off_finder(a):
            result[-1] += set_bit(True, note_finder(a))
        elif time_finder_comm(result[-1]) == temp_time:
            result[-1] = str(temp_time) + "," + set_bit_prev(on_off_finder(a), note_finder(a), -1)
        elif time_finder_comm(result[-1]) != temp_time:
            result.append(str(temp_time) + "," + set_bit_prev(on_off_finder(a), note_finder(a), -1))
    for b in result:
        output_file.write(b)
        output_file.write("\n")
    output_file.close()

def set_bit(On, note):
    if 21 <= note <= 28 and On:
        return str(2**(note - 21)) + ",0,0,0,0,0,0,0,0,0,0"
    elif 29 <= note <= 36 and On:
        return "0," + str(2**(note - 29)) + ",0,0,0,0,0,0,0,0,0"
    elif 37 <= note <= 44 and On:
        return "0,0," + str(2**(note - 37)) + ",0,0,0,0,0,0,0"
    elif 45 <= note <= 52 and On:
        return "0,0,0," + str(2**(note - 45)) + ",0,0,0,0,0,0"
    elif 53 <= note <= 60 and On:
        return "0,0,0,0," + str(2**(note - 53)) + ",0,0,0,0,0"
    elif 61 <= note <= 68 and On:
        return "0,0,0,0,0," + str(2**(note - 61)) + ",0,0,0,0"
    elif 69 <= note <= 76 and On:
        return "0,0,0,0,0,0," + str(2**(note - 69)) + ",0,0,0"
    elif 77 <= note <= 84 and On:
        return "0,0,0,0,0,0,0," + str(2**(note - 77)) + ",0,0"
    elif 85 <= note <= 92 and On:
        return "0,0,0,0,0,0,0,0," + str(2**(note - 85)) + ",0"
    elif 93 <= note <= 100 and On:
        return "0,0,0,0,0,0,0,0,0," + str(2**(note - 93)) + ",0"
    elif 101 <= note <= 108 and On:
        return "0,0,0,0,0,0,0,0,0,0," + str(2**(note - 101))
    else:
        return "0,0,0,0,0,0,0,0,0,0,0"

def set_bit_prev(On, note, index):
    temp = result[index]
    temp = temp[temp.find(",")+1:]
    if 21 <= note <= 28:
        local_temp = temp[:temp.find(",")]
        if On:
            return str(int(local_temp) + (2**(note - 21))) + temp[temp.find(","):]
        else:
            return str(int(local_temp) - (2**(note - 21))) + temp[temp.find(","):]
    elif 29 <= note <= 36:
        local_temp = temp[temp.find(",")+1:indexTh(temp, ",", 2)]
        if On:
            return temp[:temp.find(",")+1] + str(int(local_temp) + (2**(note - 29))) + temp[indexTh(temp, ",", 2):]
        else:
            return temp[:temp.find(",")+1] + str(int(local_temp) - (2**(note - 29))) + temp[indexTh(temp, ",", 2):]
    elif 37 <= note <= 44:
        local_temp = temp[indexTh(temp, ",", 2)+1:indexTh(temp, ",", 3)]
        if On:
            return temp[:indexTh(temp, ",", 2)+1] + str(int(local_temp) + (2**(note - 37))) + temp[indexTh(temp, ",", 3):]
        else:
            return temp[:indexTh(temp, ",", 2)+1] + str(int(local_temp) - (2**(note - 37))) + temp[indexTh(temp, ",", 3):]
    elif 45 <= note <= 52:
        local_temp = temp[indexTh(temp, ",", 3)+1:indexTh(temp, ",", 4)]
        if On:
            return temp[:indexTh(temp, ",", 3)+1] + str(int(local_temp) + (2**(note - 45))) + temp[indexTh(temp, ",", 4):]
        else:
            return temp[:indexTh(temp, ",", 3)+1] + str(int(local_temp) - (2**(note - 45))) + temp[indexTh(temp, ",", 4):]
    elif 53 <= note <= 60:
        local_temp = temp[indexTh(temp, ",", 4)+1:indexTh(temp, ",", 5)]
        if On:
            return temp[:indexTh(temp, ",", 4)+1] + str(int(local_temp) + (2**(note - 53))) + temp[indexTh(temp, ",", 5):]
        else:
            return temp[:indexTh(temp, ",", 4)+1] + str(int(local_temp) - (2**(note - 53))) + temp[indexTh(temp, ",", 5):]
    elif 61 <= note <= 68:
        local_temp = temp[indexTh(temp, ",", 5)+1:indexTh(temp, ",", 6)]
        if On:
            return temp[:indexTh(temp, ",", 5)+1] + str(int(local_temp) + (2**(note - 61))) + temp[indexTh(temp, ",", 6):]
        else:
            return temp[:indexTh(temp, ",", 5)+1] + str(int(local_temp) - (2**(note - 61))) + temp[indexTh(temp, ",", 6):]
    elif 69 <= note <= 76:
        local_temp = temp[indexTh(temp, ",", 6)+1:indexTh(temp, ",", 7)]
        if On:
            return temp[:indexTh(temp, ",", 6)+1] + str(int(local_temp) + (2**(note - 69))) + temp[indexTh(temp, ",", 7):]
        else:
            return temp[:indexTh(temp, ",", 6)+1] + str(int(local_temp) - (2**(note - 69))) + temp[indexTh(temp, ",", 7):]
    elif 77 <= note <= 84:
        local_temp = temp[indexTh(temp, ",", 7)+1:indexTh(temp, ",", 8)]
        if On:
            return temp[:indexTh(temp, ",", 7)+1] + str(int(local_temp) + (2**(note - 77))) + temp[indexTh(temp, ",", 8):]
        else:
            return temp[:indexTh(temp, ",", 7)+1] + str(int(local_temp) - (2**(note - 77))) + temp[indexTh(temp, ",", 8):]
    elif 85 <= note <= 92:
        local_temp = temp[indexTh(temp, ",", 8)+1:indexTh(temp, ",", 9)]
        if On:
            return temp[:indexTh(temp, ",", 8)+1] + str(int(local_temp) + (2**(note - 85))) + temp[indexTh(temp, ",", 9):]
        else:
            return temp[:indexTh(temp, ",", 8)+1] + str(int(local_temp) - (2**(note - 85))) + temp[indexTh(temp, ",", 9):]
    elif 93 <= note <= 100:
        local_temp = temp[indexTh(temp, ",", 9)+1:indexTh(temp, ",", 10)]
        if On:
            return temp[:indexTh(temp, ",", 9)+1] + str(int(local_temp) + (2**(note - 93))) + temp[indexTh(temp, ",", 10):]
        else:
            return temp[:indexTh(temp, ",", 9)+1] + str(int(local_temp) - (2**(note - 93))) + temp[indexTh(temp, ",", 10):]
    elif 101 <= note <= 108:
        local_temp = temp[indexTh(temp, ",", 10)+1:]
        if On:
            return temp[:indexTh(temp, ",", 10)+1] + str(int(local_temp) + (2**(note - 101)))
        else:
            return temp[:indexTh(temp, ",", 10)+1] + str(int(local_temp) - (2**(note - 101)))

def indexTh(in_string, find_this, th):
    order = 1
    last_index = 0
    while True:
        temp = in_string.find(find_this, last_index)
        if temp == -1:
            return -1
        if order == th:
            return temp
        order += 1
        last_index = temp + 1

def time_finder(in_string):
    time_end = in_string.index(" ")
    return int(in_string[:time_end])

def time_finder_comm(in_string):
    time_end = in_string.index(",")
    return int(in_string[:time_end])

def note_finder(in_string):
    num_start = in_string.index("n=") + 2
    num_end = in_string.index("v=") - 1
    return int(in_string[num_start:num_end])

def on_off_finder(in_string):
    start = in_string.index(" ") + 1
    end = in_string.index("ch=") - 1
    if in_string[start:end] == "On":
        return True
    elif in_string[start:end] == "Off":
        return False

main()
Processing-Skript zum Senden an den Arduino
import processing.serial.*;

Serial myPort;
String[] inputLines;

void setup() {
  myPort = new Serial(this, "COM3", 9600);
  inputLines = loadStrings("translated.txt");
  run();
}

void run() {
  int lastTime = 0;
  for (int i = 0; i < inputLines.length; i++) {
    String temp = inputLines[i];
    delay((Integer.parseInt(temp.substring(0, temp.indexOf(","))) - lastTime) * 5);
    lastTime = Integer.parseInt(temp.substring(0, temp.indexOf(",")));
    send(temp.substring(temp.indexOf(",") + 1));
  }
}

void send(String data) {
  String eleventh = data.substring(0, indexOforder(data, ",", 1));
  String tenth = data.substring(indexOforder(data, ",", 1)+1, indexOforder(data, ",", 2));
  String ninth = data.substring(indexOforder(data, ",", 2)+1, indexOforder(data, ",", 3));
  String eighth = data.substring(indexOforder(data, ",", 3)+1, indexOforder(data, ",", 4));
  String seventh = data.substring(indexOforder(data, ",", 4)+1, indexOforder(data, ",", 5));
  String sixth = data.substring(indexOforder(data, ",", 5)+1, indexOforder(data, ",", 6));
  String fifth = data.substring(indexOforder(data, ",", 6)+1, indexOforder(data, ",", 7));
  String forth = data.substring(indexOforder(data, ",", 7)+1, indexOforder(data, ",", 8));
  String third = data.substring(indexOforder(data, ",", 8)+1, indexOforder(data, ",", 9));
  String second = data.substring(indexOforder(data, ",", 9)+1, indexOforder(data, ",", 10));
  String first = data.substring(indexOforder(data, ",", 10)+1);

  myPort.write("888f");
  myPort.write(first + "f");
  myPort.write(second + "f");
  myPort.write(third + "f");
  myPort.write(forth + "f");
  myPort.write(fifth + "f");
  myPort.write(sixth + "f");
  myPort.write(seventh + "f");
  myPort.write(eighth + "f");
  myPort.write(ninth + "f");
  myPort.write(tenth + "f");
  myPort.write(eleventh + "f");
  myPort.write("999f");
}

int indexOforder(String data, String find, int order) {
  int currentOrder = 0;
  int lastLocation = 0;
  while (currentOrder < order) {
    lastLocation = data.indexOf(find, lastLocation + 1);
    currentOrder += 1;
  }
  return lastLocation;
}
Arduino-Code
Einfacher Code für den Arduino. Empfängt Daten über Serial. 888 und 999 sind reserviert für Schieberegister-Öffnen/Schließen.
Keine Vorschau verfügbar (nur Download).
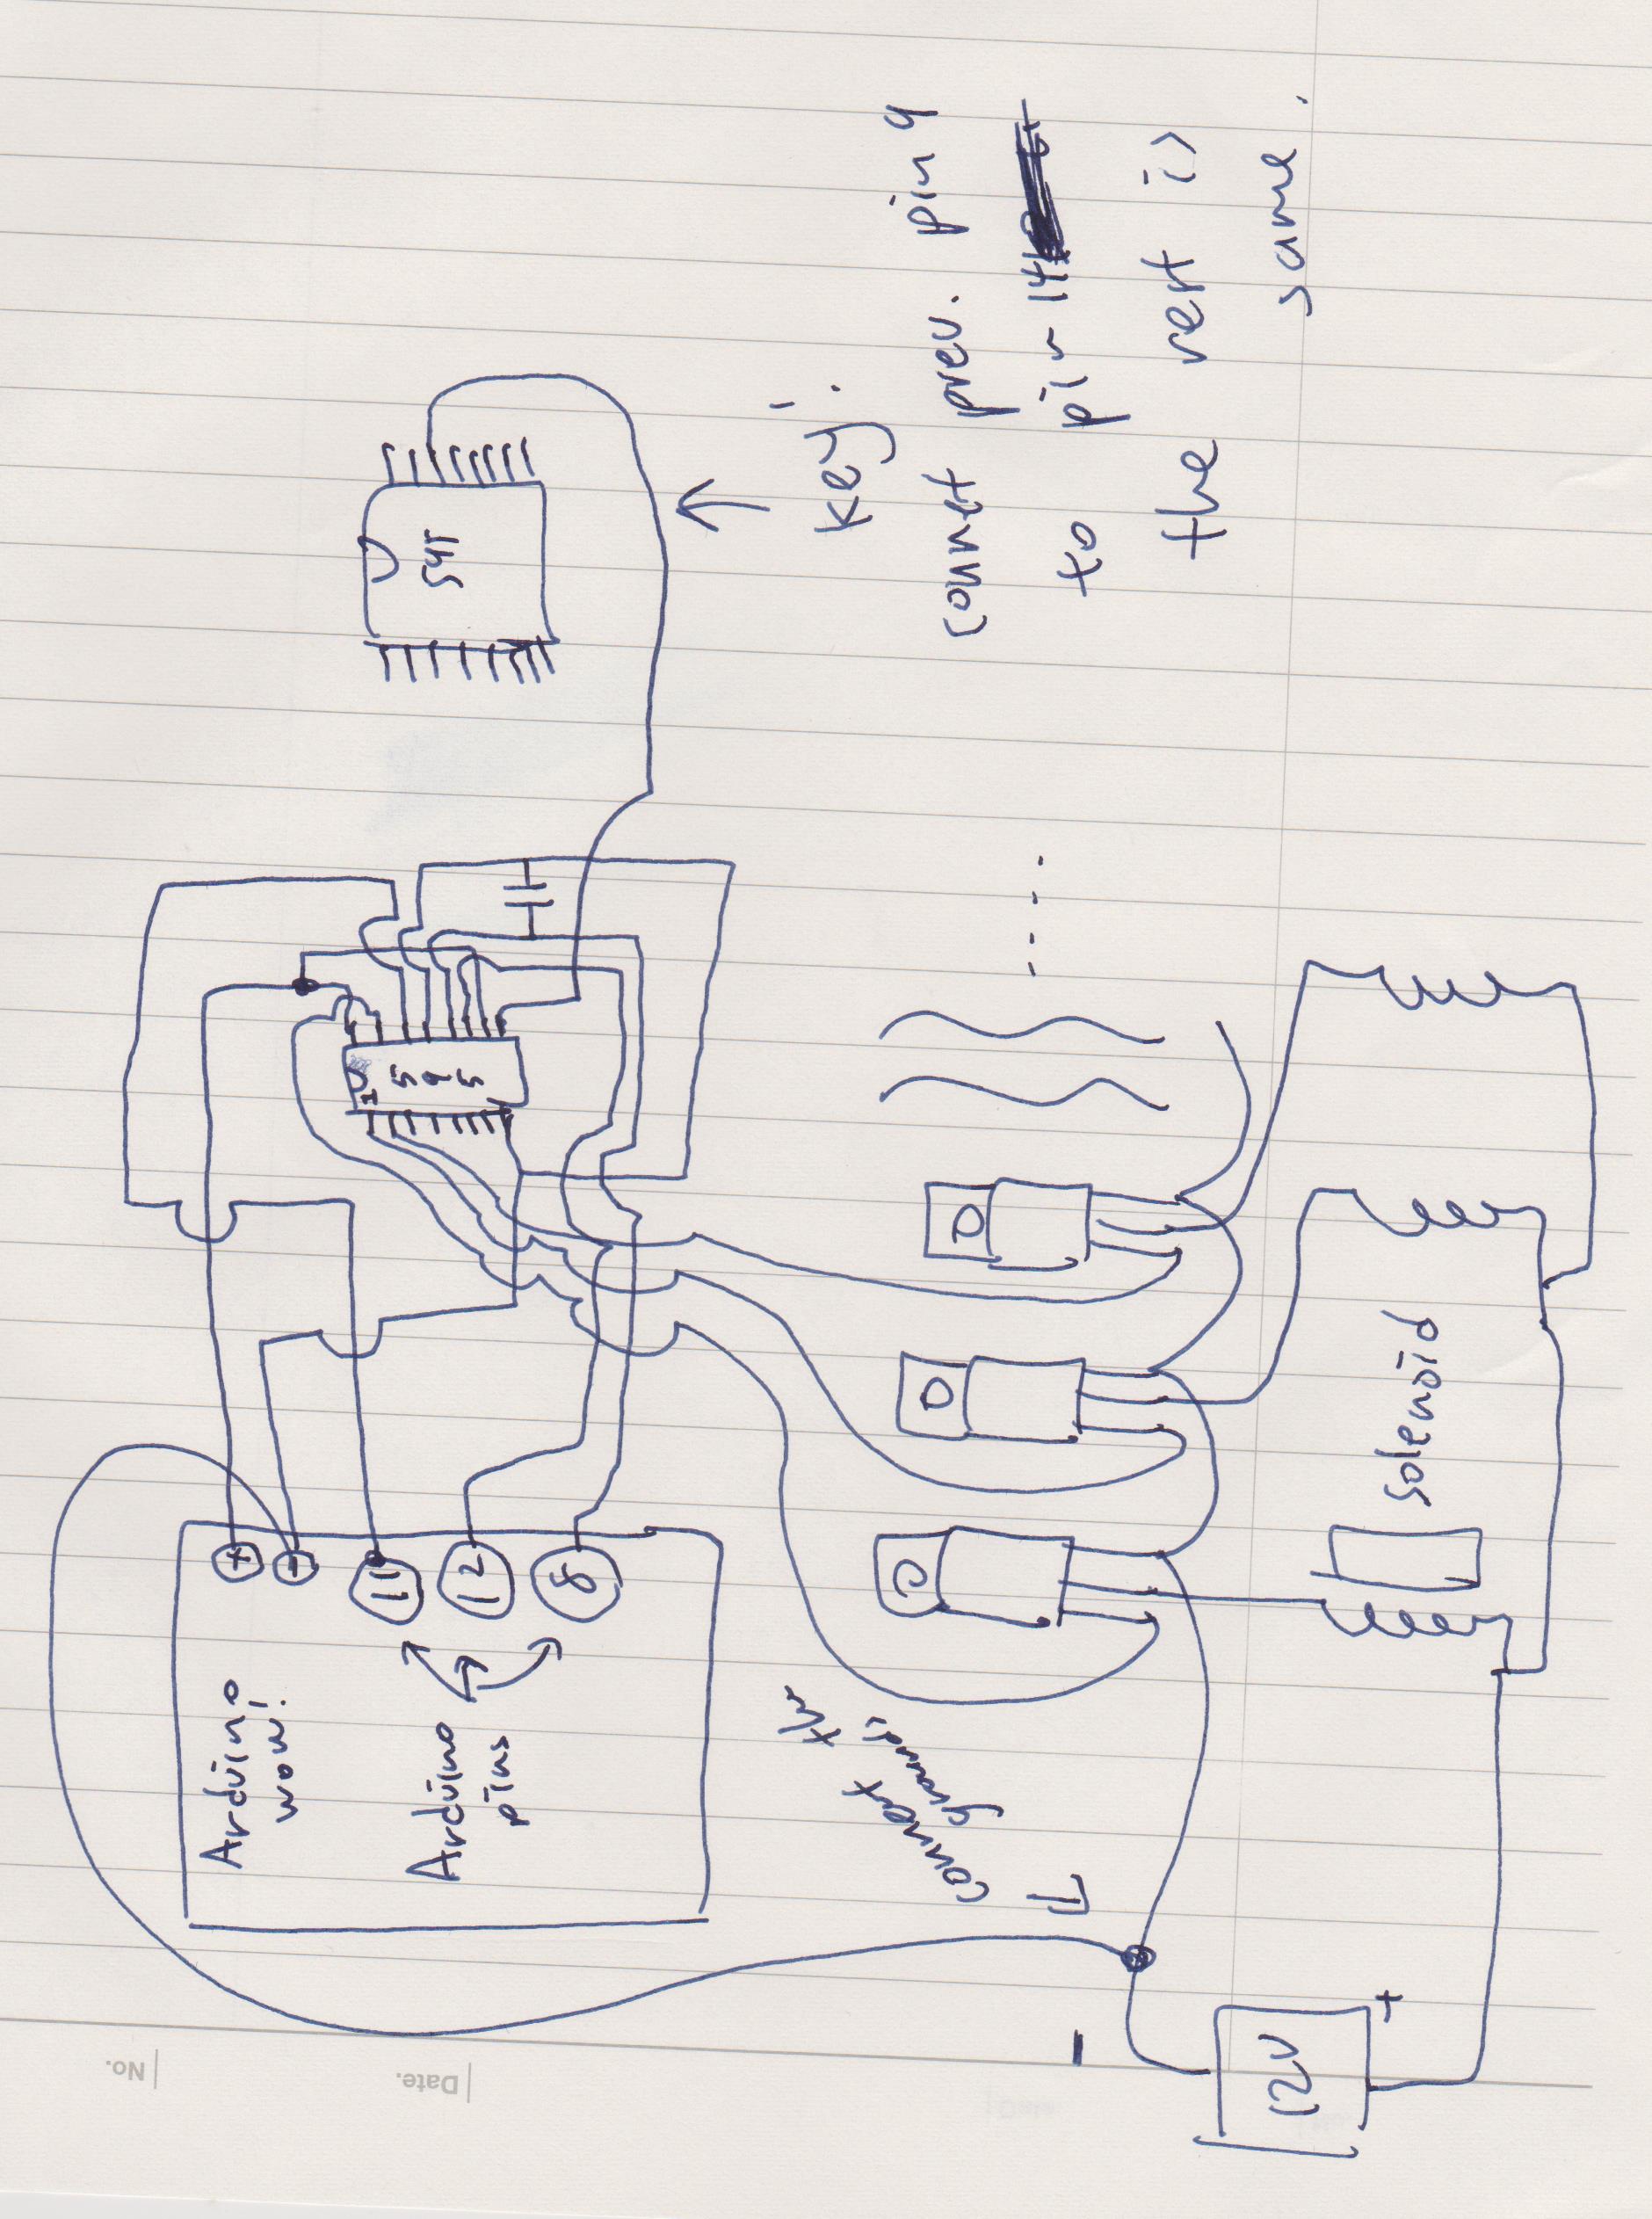
Schaltplan
Entschuldigen Sie die unprofessionelle Zeichnung. Das Konzept entspricht im Wesentlichen dem Arduino ShiftOut-Beispiel, nur mit MOSFETs. Ich empfehle, auch dort hineinzuschauen.
Herstellungsprozess
- Bluetooth-gesteuerter Raspberry Pi Roboter mit Audio-Feedback bauen
- Internet-gesteuerter Video-Streaming-Roboter mit Arduino & Raspberry Pi bauen
- WLAN-gesteuerter Raspberry Pi Roboter mit Python bauen – Schritt-für-Schritt
- LEDs mit Alexa über Raspberry Pi steuern – Einfache Schritt-für-Schritt-Anleitung
- Arduino Iron Man bauen: Komponenten, Sensoren & Schritt-für-Schritt-Anleitung
- Find Me: Smarter Gegenstands-Finder mit Arduino und Bluetooth
- DIY Arduino Luftbefeuchter-Steuerung mit Relais – Sichere Hochspannungs-Installation
- Sprachgesteuerter Roboter mit Arduino Nano bauen
- MobBob: Eigenen Arduino-Roboter bauen, per Android-Smartphone steuern
- DIY Arduino Lenkrad / Joystick für Rennspiele – USB-HID-Umbau